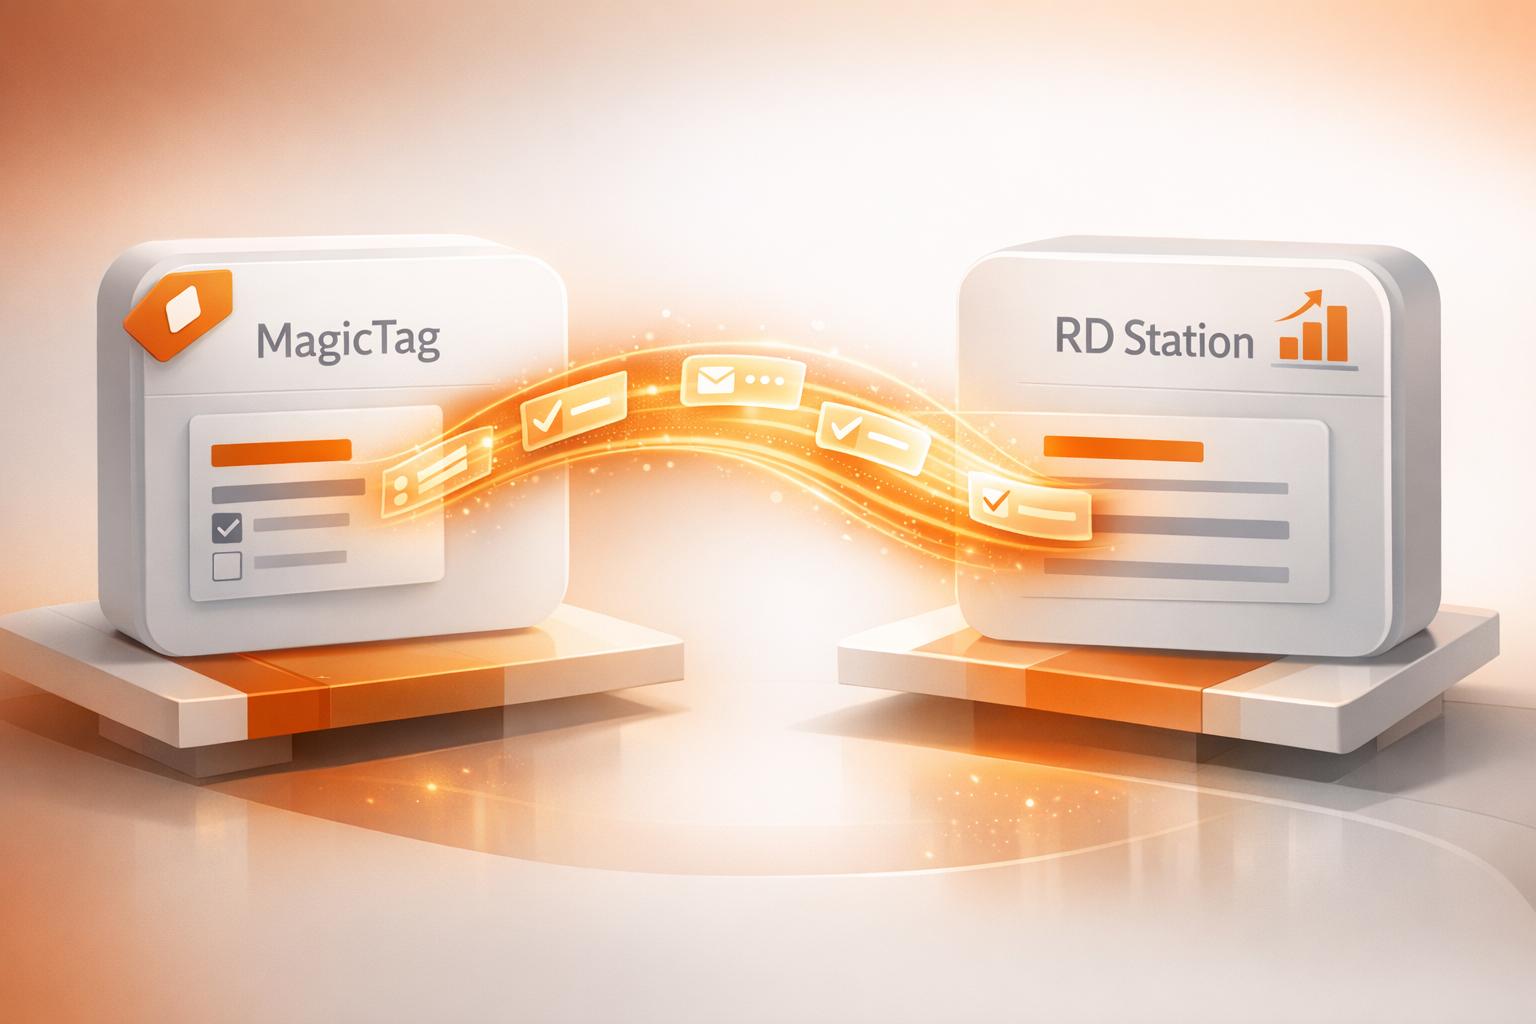
Integrating form data with your CRM ensures every lead from your website reaches your sales pipeline without delays or errors. Manual data entry is time-consuming and prone to mistakes, but tools like MagicTag automate this process, syncing form submissions directly to your CRM. Here's how to get started:
- Install MagicTag: Add a lightweight script to your website to capture form submissions in real time.
- Connect to Your CRM: Use webhooks (for basic setups) or APIs (for advanced customizations) to transfer data seamlessly.
- Map Fields: Match form fields to CRM fields to ensure accurate data alignment.
- Automate Workflows: Set up rules in your CRM for lead assignment, follow-ups, and notifications.
How to Integrate Website Forms with CRM Tracking (Step-by-Step Guide)
Step 1: Set Up MagicTag for Real-Time Form Data Capture
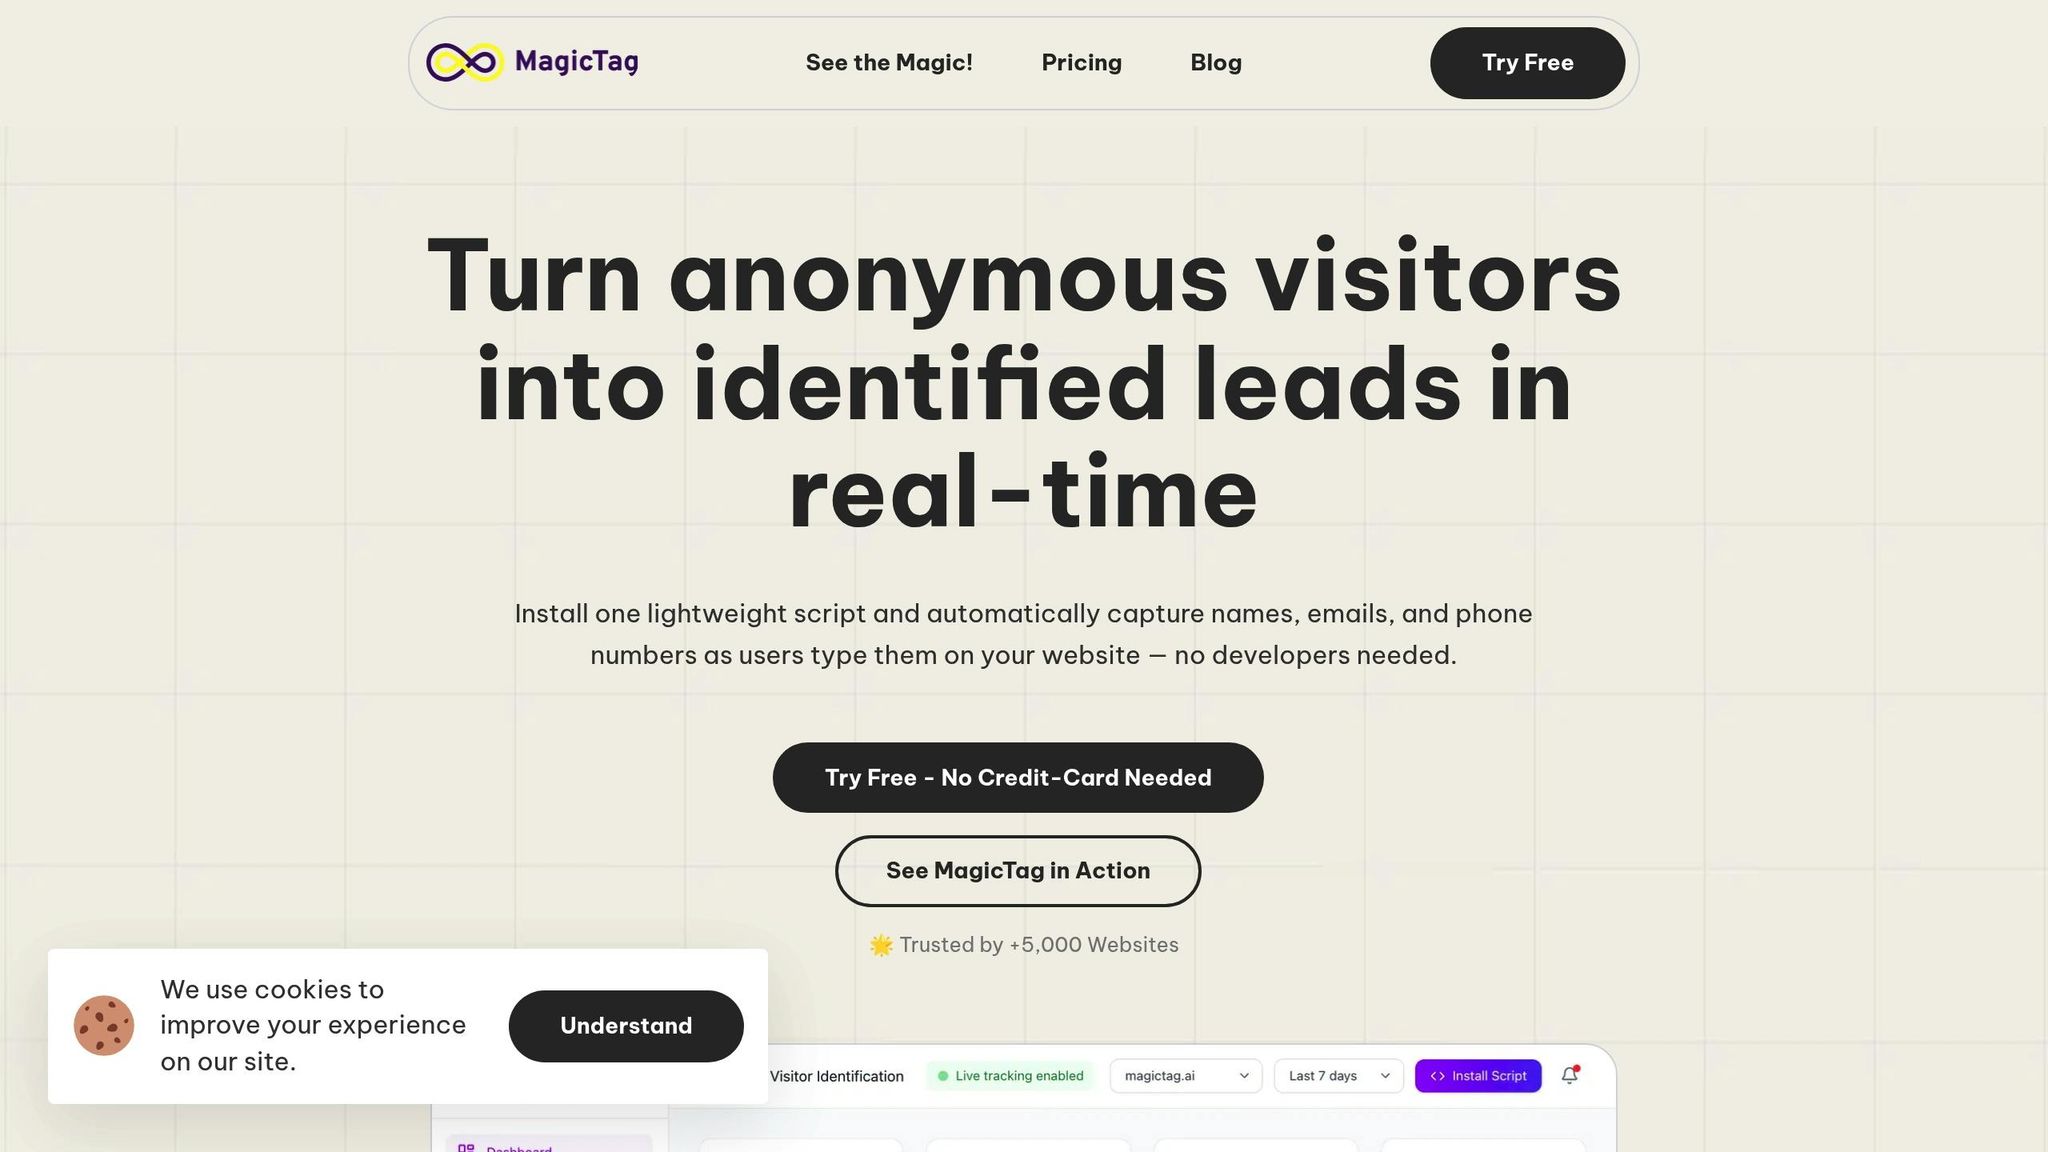
Getting started with MagicTag is quick and hassle-free - no coding skills required. Once it's up and running, MagicTag captures form submissions in real time, ensuring you never lose important lead details.
Install the MagicTag Script
First, log in to your MagicTag account and head to the installation page. Follow the instructions to add the MagicTag script to your website's header. If you’re using platforms like WordPress, Shopify, or Wix, you can easily insert the script through your site settings or a custom code plugin. Since the script is lightweight, it won’t slow down your website. After installation, configure the form field detection settings to make sure all the data you need is captured accurately.
Configure Form Field Detection
Once installed, MagicTag automatically detects the form fields on your site. To ensure everything runs smoothly, label each field in your form builder clearly - for example, "First Name", "Last Name", "Email", or "Phone Number." Clear labels help MagicTag correctly identify and transfer the right information. If your business requires additional fields, you can set up custom labels for those as well. Afterward, you’ll be able to track and manage your leads in real time through the dashboard.
Monitor Captured Leads from the Dashboard
With everything set up, visit the MagicTag dashboard to see your leads as they come in. The dashboard provides an overview of key metrics like form views, starts, and completions, giving you a snapshot of how your forms are performing. These real-time insights make it easy to adjust your strategies on the fly for better results.
Step 2: Connect MagicTag with Your CRM

MagicTag CRM Integration Plans Comparison: Features and Pricing
Now that real-time data capture is in place, it's time to connect MagicTag with your CRM. This step allows you to seamlessly transfer captured data into your CRM for better lead management. MagicTag offers two ways to integrate: webhooks for simpler setups and API for more advanced configurations.
Using Webhooks for Basic CRM Integration
Webhooks provide a straightforward way to link MagicTag with your CRM. Essentially, they send instant notifications (via HTTP POST requests) to your CRM whenever someone submits a form on your site. This ensures that leads are added to your CRM within seconds.
To set up webhooks, head to the Integrations section of your MagicTag dashboard. Enter your CRM's endpoint URL, select POST as the HTTP method, configure authentication (like API keys or tokens), and map the JSON data fields. Most CRMs, such as Salesforce and HubSpot, supply this endpoint URL in their webhook or API settings.
Webhooks are included in MagicTag's Free and Starter plans, making them accessible to businesses starting out with automation. The Free plan supports up to 1,000 identified users per month with basic webhook functionality, while the Starter plan ($19/month) increases this to 10,000 users and adds priority support.
Using API for Advanced Integration
For businesses requiring more control and customization, API integration is the way to go. This option is available with MagicTag's Business ($99/month) and Enterprise ($299/month) plans, which handle advanced filtering, segmentation, and larger data volumes.
Setting up API integration involves a few technical steps. Start by identifying the CRM objects you'll work with - such as contacts, leads, opportunities, or custom fields. Configure authentication using methods like OAuth 2.0, token-based authentication, or basic credentials, and store these securely using a secrets manager. Next, map the data fields from MagicTag to your CRM, ensuring alignment (e.g., "User.Email" in MagicTag matches "Lead.Email" in your CRM).
Be mindful of API call limits imposed by CRMs. Exceeding these limits can result in a 429 error, halting your data flow. To prevent this, use a queue system that spaces out API calls and implements exponential backoff to handle retries. Additionally, set up logging and monitoring to track success rates, response times, and errors, so you can address any issues promptly.
MagicTag Plan Comparison for CRM Integration
Here’s a quick breakdown of MagicTag’s plans and their CRM integration features:
| Plan | Price | Monthly Users | Webhook Support | API Access | Advanced Features |
|---|---|---|---|---|---|
| Free | $0/year | 1,000 | Basic webhook | No | Email support only |
| Starter | $19/month | 10,000 | Full webhook | Yes | Priority support |
| Business | $99/month | 50,000 | Full webhook | Yes | Advanced filtering, segmentation, SLA support |
| Enterprise | $299/month | 50,000+ | Full webhook | Yes | Custom integrations, dedicated infrastructure, premium support |
Select the plan that suits your lead volume and integration needs. Many small businesses find the Starter plan ideal to begin with and upgrade as their requirements grow.
Once your CRM connection is established, the next step is to map form fields to CRM objects for seamless data alignment.
sbb-itb-77d5bc3
Step 3: Map Form Data Fields to CRM Objects
Now it's time to tackle field mapping - this is where you link each form field captured by MagicTag to the appropriate field in your CRM. Done right, this step ensures that when someone fills out a form on your website, their details are accurately recorded in your CRM without any errors or duplicate entries. This is a key step for smooth data flow and sets the foundation for effective lead management.
Match Form Fields with CRM Fields
Start by pairing each MagicTag field with its matching CRM field. For instance, if MagicTag captures "User.Email" from a contact form, connect it to the email field in your CRM, whether that's part of a lead or contact record. Common fields like first name, last name, phone number, company, and job title should all be mapped accordingly.
Pay attention to data types to avoid errors. If the data types between the form and CRM don’t align, it could cause issues. Similarly, be aware of required fields in your CRM. For example, if your CRM mandates a last name but your form only collects a full name, you might need to split that data during the mapping process.
For dropdown fields, such as "Lead Source" with options like "Website", "Referral", or "Social Media", make sure to explicitly map these to the corresponding CRM values. If the terminology differs, consider using a lookup table to translate between the options.
Whenever possible, stick to native CRM fields, as they make reporting and integrations simpler. However, if your business needs unique data points - like custom industry codes or specialized contract stages - MagicTag’s API integration (available on Starter plans and above) lets you map to custom CRM fields and objects.
Test Field Mapping for Accuracy
Once your fields are mapped, it’s crucial to test the setup. Submit sample data through your forms and check your CRM to confirm that the information lands where it should. Verify that all fields are filled correctly, no values are missing, and there are no duplicates.
During testing, be on the lookout for common issues like incorrect field assignments, delays in data transfer, empty fields, or duplicate records. If you spot any problems, adjust the mappings and test again.
Document every mapping decision you make. Record which form fields connect to which CRM fields, any transformations applied (like splitting full names into first and last names), and any conditional mapping logic. This documentation will be a lifesaver for troubleshooting or when onboarding new team members.
As your system evolves - whether you add new form fields or make changes to your CRM structure - schedule regular reviews and audits of your mappings. Keeping everything updated ensures your integration continues to run smoothly.
Step 4: Automate and Optimize Your Integration
After successfully mapping your fields in Step 3, it's time to take things to the next level by automating and fine-tuning your integration. This step is all about streamlining lead management, cutting down on manual tasks, and ensuring your system grows alongside your business.
Test the Integration with Sample Data
Before officially launching, it's crucial to test your setup using sample data. Submit test forms to ensure every field transfers correctly and all data remains intact. Double-check that the transferred data matches the original form inputs without any errors. If you spot discrepancies, use your dashboard's monitoring tools to identify and fix the issues. Once you're confident the data transfer is accurate, you’re ready to automate your lead management processes.
Enable Automation for Lead Management
With testing complete, you can now configure automation rules in your CRM to handle leads seamlessly. Set up triggers to assign leads automatically based on criteria like territory, industry, or lead score. For high-value leads, enable email notifications so your team can act quickly. Automate tasks like lead assignment, follow-ups, and notifications to save time and reduce manual errors. To keep your pipeline clean, create workflows that validate incoming data - flagging incomplete or suspicious records before they cause problems.
Monitor and Adjust the Integration
Your integration isn’t a "set it and forget it" solution. Ongoing monitoring is essential to maintain data accuracy and uncover areas for improvement. Use tools like the MagicTag dashboard to track leads in real time and compare them against what’s captured in your CRM. Pay attention to metrics such as lead conversion rates, sales cycle duration, and data completeness to evaluate how well your integration is performing. Regular audits can help you catch outdated records, empty fields, or duplicate entries. As your forms or CRM structure change, make sure to update your mappings and automation rules. Remember, maintaining data quality is a team effort - don’t leave it solely to IT. Get feedback from your sales team to make adjustments that align with their needs and ensure the system works for everyone.
Conclusion
Why Real-Time Data Capture with MagicTag Makes a Difference
MagicTag simplifies CRM integration by capturing every lead - even partial form submissions - which can identify up to 12 times more leads compared to traditional methods. By automating the data flow, it eliminates manual entry errors and keeps your customer information accurate and current. This automation creates a smoother, more efficient CRM integration process.
But it’s not just about gathering more email addresses or names. MagicTag’s seamless data flow helps unify team efforts, allowing you to segment customers based on real behaviors, run personalized campaigns, and focus on the leads most likely to convert. In fact, a 2023 study found that 91% of executives said their organizations achieved measurable business value from data and analytics investments. This highlights the importance of breaking down data silos and leveraging real-time insights.
Taking the Next Step with CRM Integration
Ready to unlock these benefits? Start your CRM integration journey today. Follow the four-step process outlined earlier - from installing the MagicTag script to automating workflows. Begin with the Free plan, which lets you capture up to 1,000 users per month, and test how it works with your current CRM. As your business grows, you can upgrade to plans that accommodate larger lead volumes and provide advanced features like custom integrations and dedicated infrastructure.
FAQs
How can I make sure MagicTag maps my form fields to the correct CRM fields?
To make sure MagicTag properly matches your form fields with your CRM fields, start by carefully setting up the field mapping during the integration process. Pay close attention to ensure that the field labels and data types in your form match the corresponding fields in your CRM. After the initial setup, test everything by submitting a few sample entries to confirm the data flows correctly.
To keep things running smoothly, regularly review and update your mappings, especially if you’ve made any changes to your forms or CRM structure. It’s a good idea to involve key team members to confirm that data is being captured and transferred as expected. A well-configured setup and periodic checks can help keep your integration seamless and make managing leads much easier.
What’s the difference between using webhooks and APIs to connect form data to your CRM?
Webhooks and APIs are both handy tools for transferring form data to your CRM, but they operate in distinct ways. Webhooks are triggered by specific events - like a form submission - and send data automatically in real-time. This makes them perfect for situations where immediate updates are crucial and you want to avoid manual effort.
APIs, by contrast, let you request data whenever you need it. This on-demand approach gives you greater control over how and when data is retrieved. However, because APIs rely on scheduled or manual requests, there may be slight delays in getting the information.
The choice between webhooks and APIs boils down to your priorities: opt for webhooks if you need instant updates, and go with APIs if you want more control over the timing and flow of data.
How can I track and improve my MagicTag integration to manage leads more effectively?
To keep your MagicTag integration working seamlessly, make it a habit to check the integration logs. This helps you track how well the data sync is performing and catch any errors early. Setting up automated alerts can also save you time by notifying you immediately when something needs attention.
Take advantage of analytics tools to analyze lead flow and conversion rates. This can reveal patterns and highlight areas where adjustments might be needed. Regularly test and fine-tune workflows, ensure your data mapping to the CRM is as efficient as possible, and double-check that all processes meet security requirements. These practices not only ensure accurate lead capture but also boost the overall efficiency of your lead management system.