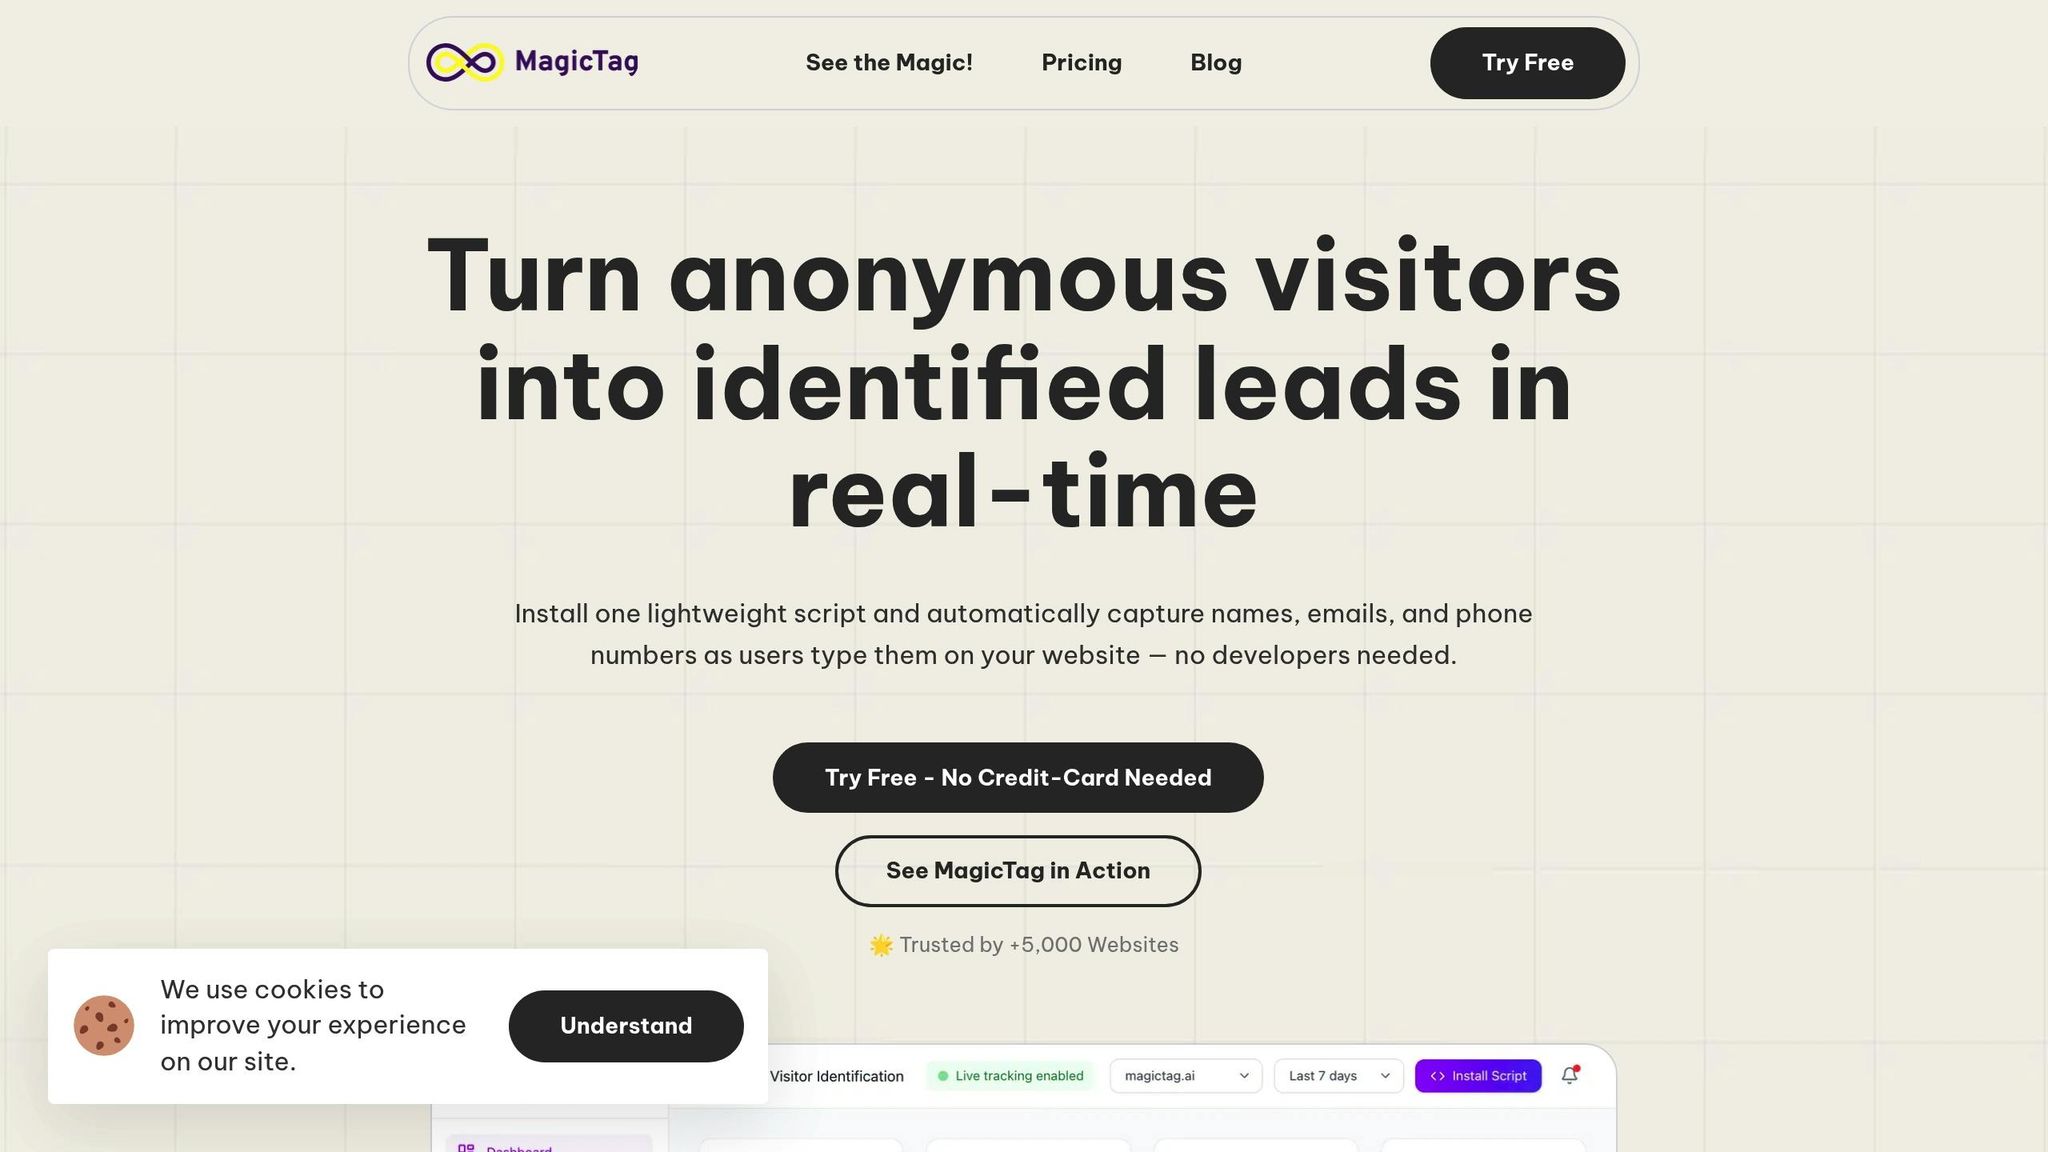
Want to recover leads who abandon forms? MagicTag and Customer.io make it simple. MagicTag captures data as users type, even if they don’t submit the form. Customer.io then automates follow-ups via email, SMS, or other channels to re-engage those leads. Together, they help businesses turn partial form fills into actionable opportunities.
Key Benefits:
- Real-time data collection: MagicTag saves form inputs instantly - no submission required.
- Automated follow-ups: Customer.io sends personalized emails or texts based on user behavior.
- Easy setup: No coding needed; integrate both tools with just a few steps.
- Compliance-ready: Works within GDPR and LGPD regulations.
Results You Can Expect:
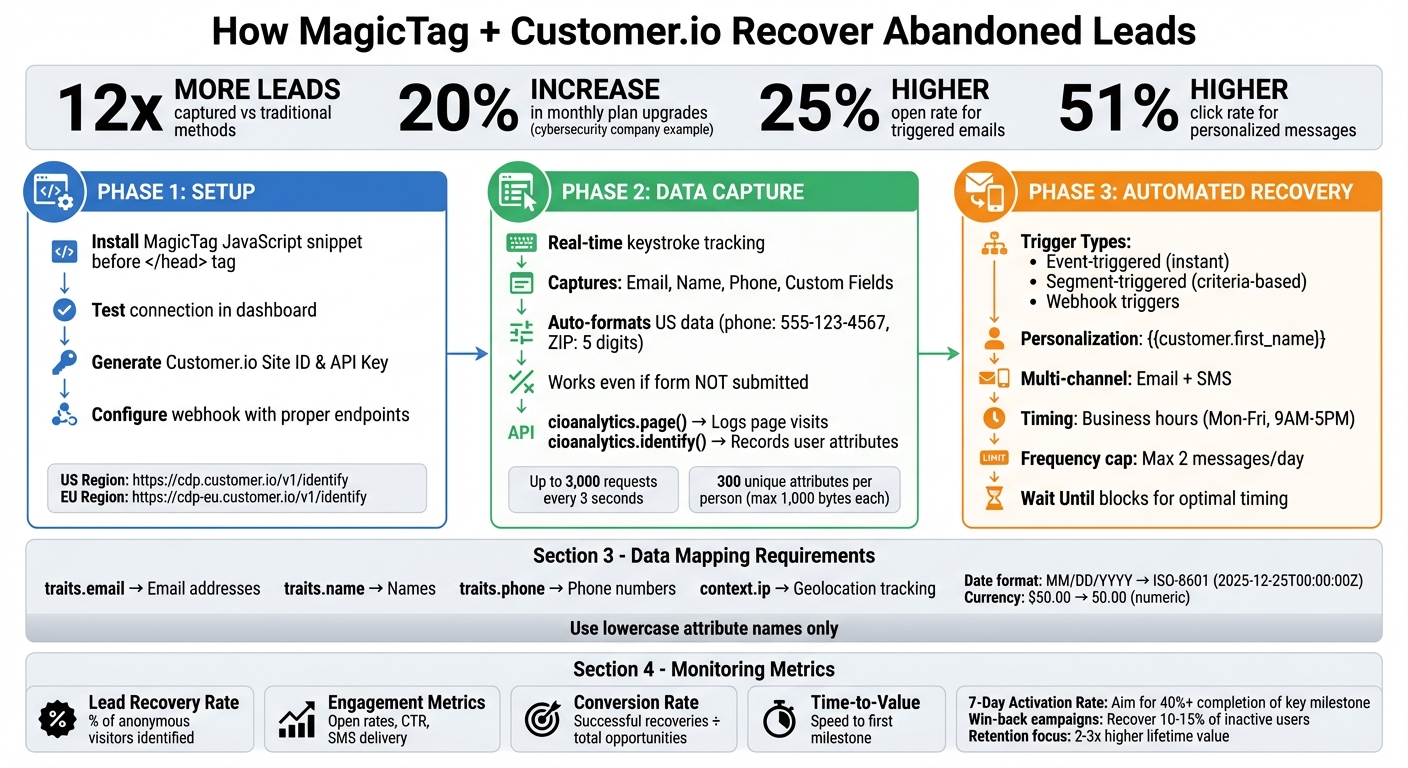
- Up to 12x more leads captured compared to traditional methods.
- Boost engagement with tailored recovery workflows.
- Example: A cybersecurity company increased monthly plan upgrades by 20% using this approach.
This guide covers how to set up MagicTag, connect it to Customer.io, and build workflows that recover leads effectively.
MagicTag and Customer.io Integration Setup Process
Setting Up MagicTag for Real-Time Lead Capture
Installing MagicTag on Your Website
Getting MagicTag up and running is quick and doesn’t require a developer. Start by logging into your MagicTag dashboard and grabbing the JavaScript snippet from the integration settings. Paste this snippet right before the closing </head> tag on your website. This placement ensures MagicTag loads properly.
After installation, use the "Test connection" feature in your dashboard to confirm everything is working. If MagicTag is set up correctly, you’ll see a confirmation that it’s tracking page views. For those using Single Page Applications (SPAs) like React or Vue.js, you’ll need to call cioanalytics.page() manually whenever the route changes, as the script only tracks the first page load by default. Once installed, MagicTag begins capturing user inputs immediately.
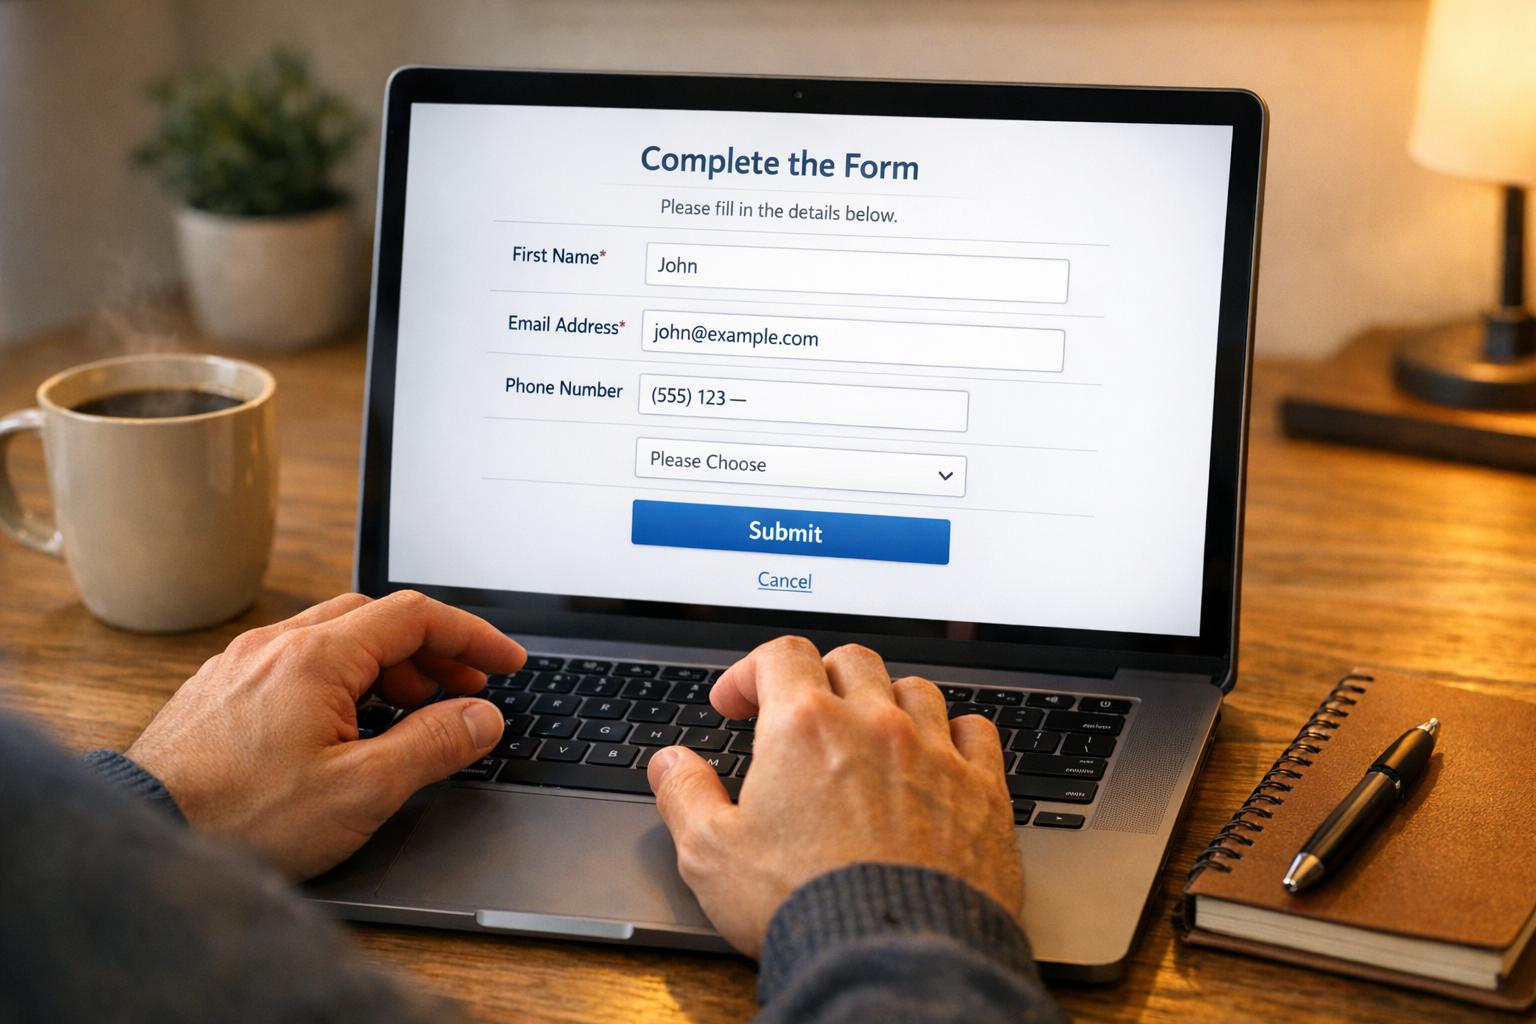
Capturing Form Fields in Real Time
MagicTag tracks every keystroke users make in form fields - whether it’s a name, email, phone number, or other details. It works seamlessly across multiple forms on the same page without requiring extra setup. For U.S.-based businesses, MagicTag even formats data like 10-digit phone numbers (e.g., 555-123-4567) and 5-digit ZIP codes automatically.
This real-time data capture relies on two main methods: cioanalytics.page() logs when someone visits a page, while cioanalytics.identify() records user attributes as soon as they’re entered, such as an email or name. Even if a visitor doesn’t complete the form, MagicTag saves the partial data, helping you turn anonymous visitors into potential leads.
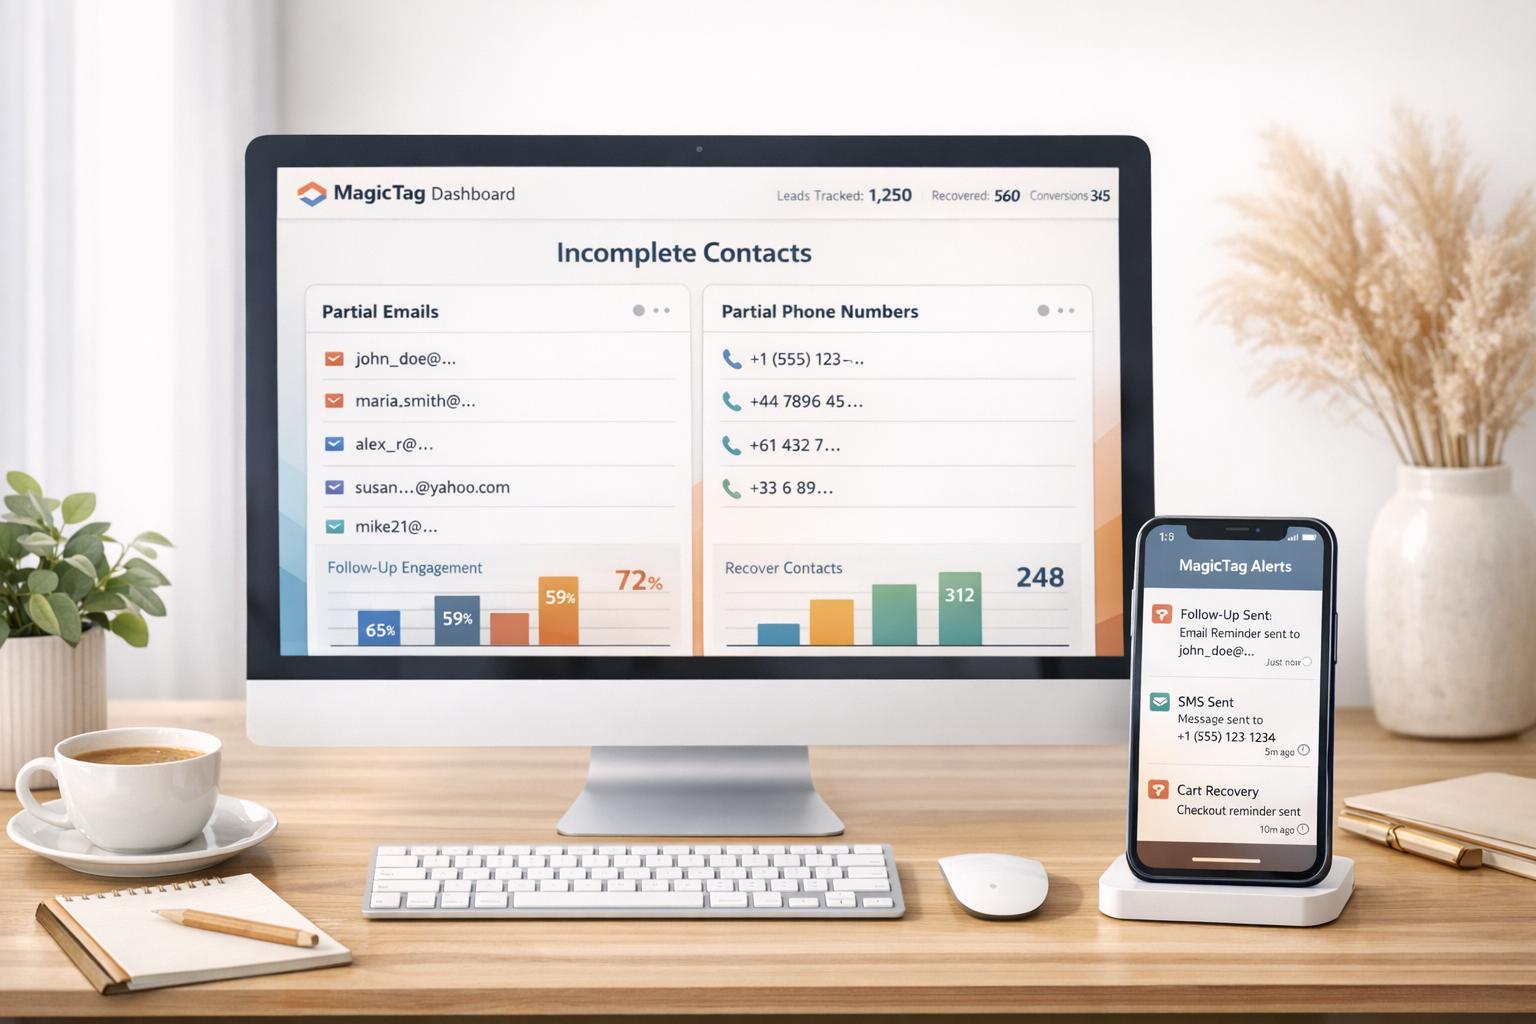
Reviewing Captured Data in MagicTag
Before integrating with Customer.io, it’s a good idea to review the data MagicTag has collected. Open the MagicTag dashboard and check the real-time activity feed to see each interaction, including which fields users filled out and when they left the page. Marc Messer, Director of Digital Marketing, highlights this feature:
"What really makes Customer.io stand out is your focus on data. You make it easy to get the data we need, whether it's sending it in or getting it out".
Next, head to the "API Calls" tab to review the attributes being sent, such as email addresses, phone numbers, and custom fields. Confirm that the data follows U.S. formatting standards to avoid issues when building automated workflows in Customer.io. This step ensures a smooth transition of data into Customer.io for further use.
Connecting MagicTag to Customer.io
Customer.io API and Configuration Requirements
To send lead data from MagicTag to Customer.io, you'll need to use their Pipelines API (referred to as "Customer.io API" in the interface). This API is ideal for new integrations that involve transferring data from external sources.
Start by generating your Site ID and API Key. Navigate to Data & Integrations > Integrations and click on Add Integration. Choose Customer.io API and give it a clear, descriptive name, such as "MagicTag Lead Capture". The Track API supports up to 3,000 requests every 3 seconds, which should easily handle most lead capture needs.
Make sure to use the correct endpoint URL based on your account's region. If you're in the US region, the endpoint is https://cdp.customer.io/v1/identify. For accounts in the EU region, use https://cdp-eu.customer.io/v1/identify. After setting up your API credentials, test the configuration with a 200 OK response before moving forward with MagicTag setup.
Configuring MagicTag for Data Transfer
Once you have your Customer.io credentials ready, you can configure MagicTag to securely transfer lead data. In the MagicTag dashboard, set up a webhook connection with the following headers:
Authorization: Basic <YOUR_API_KEY>Content-Type: application/json.
Next, map the captured form fields to the identify payload. For example:
- Use
traits.emailfor email addresses. - Use
traits.namefor names. - Use
traits.phonefor phone numbers.
If you're collecting location data, include the visitor's IP address in the context.ip field to enable geolocation tracking. To avoid issues, always use lowercase attribute names. Uppercase field names like "EMAIL" or "Phone" can result in duplicate attributes and integration errors. Customer.io allows up to 300 unique attributes per person, with each attribute value capped at 1,000 bytes.
Mapping US-Specific Data Formats
When working with US-specific data formats, ensure proper conversions for compatibility. For dates, transform the MM/DD/YYYY format (e.g., 12/25/2025) into ISO-8601 (2025-12-25T00:00:00Z) or Unix timestamps (1766620800). This ensures that dates are processed correctly within workflows.
For currency, convert dollar amounts like $50.00 into numeric values (50.00) and map them to a lowercase attribute, such as order_total_usd. This makes it easier to segment leads by their value later on.
Before launching, send a test POST request using tools like cURL or Postman. Check that the US-specific formats are being correctly received in Customer.io's activity feed. If you need to update email addresses through this integration, enable the "Allow updates to email using ID" setting in Customer.io Workspace Settings. This prevents "Failed Attribute Change" errors. Proper formatting ensures smooth integration with Customer.io's workflows for lead recovery and beyond.
Building Lead Recovery Workflows in Customer.io
Triggering Workflows with MagicTag Data
Customer.io gives you three ways to kick off a lead recovery workflow using MagicTag data:
- Event-triggered campaigns: These react instantly to real-time actions, like when MagicTag captures a partial form fill.
- Segment-triggered campaigns: These activate when users meet specific criteria, like capturing an email but not submitting the form.
- Webhook triggers: These handle data from external services.
With the platform's visual workflow builder, you can design workflows with ease using drag-and-drop tools. One particularly handy feature is the "Wait Until" block, which lets you pause a workflow until a specific condition is met - like waiting for a lead to complete a purchase - or until a set time limit expires. This ensures your recovery messages hit at just the right moment.
"Customer.io is a logic engine that runs sophisticated, branching customer journeys." - ClonePartner
You can also build segments based on frequency and recency. For instance, set up a trigger to recover leads who visit the pricing page three times within seven days - targeting those who show clear buying intent.
Next, let’s dive into how to fine-tune and send these follow-up messages.
Customizing Email and SMS Follow-Ups
Make your messages stand out by personalizing them with Liquid syntax, such as {{customer.first_name}} or {{event.abandoned_cart_value}}. When naming events or parameters, avoid spaces - use lead_capture instead of lead capture. If spaces are unavoidable, use this format: {{ event["property name"] }}.
To ensure smooth delivery, set conditions for each channel. For example, only trigger an SMS if a valid phone number is available, avoiding failed sends. When working with arrays or objects, the | to_json filter keeps the original JSON structure intact.
Timing plays a big role in successful outreach. Send recovery emails or texts during business hours (Monday to Friday, 9:00 AM to 5:00 PM) to maintain a professional tone, especially for B2B audiences. To avoid overwhelming leads, set a cap on campaign frequency - no more than two marketing messages per day. This not only prevents burnout but also reduces the chance of being flagged as spam.
The impact of personalization is clear: triggered emails tailored to the recipient see a 25% higher open rate and a 51% higher click rate compared to generic ones. Companies that embrace personalized marketing report 40% more revenue compared to those that don’t.
Once your messages are personalized, take it a step further by segmenting them with conditional logic.
Using Logic Branches for Segmentation
Conditional branches in your workflows allow you to tailor follow-ups based on MagicTag data. For instance, use multi-split branches to send users down different paths: if a phone number is available, initiate an SMS sequence; if only an email is captured, stick to email follow-ups. For high-value leads, create a path that includes premium incentives or direct sales outreach when MagicTag flags indicators like a high cart value or interest in enterprise features.
"I've worked with many ESPs in my career, and I've never seen such robust segmentation and branching logic before. It's been so critical in setting up our customer communications." - Madi Sacks, Director of Lifecycle Marketing
You can also use the "Wait Until" block strategically. For example, hold a lead for five minutes to allow MagicTag to collect additional details - like "Company Size" - before routing them into tailored recovery paths, such as "Enterprise" or "SMB."
Real-world examples show how effective this approach can be. Mysa, a smart thermostat company, leveraged Customer.io's personalized workflows to boost email marketing revenue by 592%. A cybersecurity firm saw a 20% jump in monthly upgrades by automating follow-ups based on user behavior.
To wrap up your workflow, update user profiles mid-journey. For instance, once a recovery workflow succeeds, add an attribute like onboarding_status = 'complete' to exclude the lead from future recovery campaigns. You can even set up Slack notifications to alert your sales team when a high-value lead revisits your pricing page multiple times, enabling timely human follow-up.
sbb-itb-77d5bc3
Monitoring and Improving Lead Recovery Performance
Validating Data Flow Between MagicTag and Customer.io
Start by checking the Data In tab to view a real-time stream of incoming events. If no events appear, troubleshoot the connection before moving forward.
Next, head to the API Calls tab to confirm that identify and track calls are being correctly sent from your website. After sending an identify call, refresh the page to ensure that anonymous page views are merging into the identified profile.
Use the Activity Log to compare event timestamps with their processing times. If you notice large delays, this could signal a problem. Then, go to Data & Integrations > Data Index > Events to verify when Customer.io last received a specific event type. This step ensures that MagicTag is consistently transmitting data.
| Tool | Location | Purpose |
|---|---|---|
| Data In Tab | Data & Integrations > Integrations > [Source] | Monitor live incoming events |
| API Calls Tab | Data & Integrations > Integrations > [Source] | Confirm success of identify and track calls |
| Activity Log | Person Profile > Activity Log | Check "Timestamp" vs. "Processed At" for delays |
| Data Index | Data & Integrations > Data Index | Verify "Last Received" date for specific event types |
Once you've confirmed the data flow, these tools will provide the insights needed to evaluate and improve your lead recovery performance.
Tracking Key Performance Indicators
Key metrics to track include recovery rate, engagement, conversion, and time-to-value. The lead recovery rate reflects the percentage of anonymous visitors who either fill out a form or are identified via MagicTag. To streamline this, assign a unique "Tracked Name" to form submit buttons, which will automatically calculate submission and dismissal rates.
Monitor engagement metrics - such as email open rates, click-through rates, and SMS delivery or response rates - through Customer.io's reporting tools. Calculate the conversion rate by dividing successful recoveries (e.g., trial sign-ups or purchases) by the total number of recovery opportunities. Additionally, measure time-to-value to see how quickly a recovered lead achieves their first milestone after re-engagement. These metrics can guide adjustments to your recovery strategies, boosting overall lead conversion.
To analyze performance across campaigns, use tags. For example, tagging all lead recovery workflows with lead-recovery allows you to generate aggregate reports on the Analysis page. Early-stage companies focusing on retention and recovery can see 2-3x higher lifetime value, while well-structured win-back campaigns can recover 10-15% of inactive users without extra acquisition costs.
These metrics are essential for fine-tuning your workflows and maximizing efficiency.
Refining Workflow Configuration
Experiment with different email subject lines to improve engagement. Test variations like personal versus benefit-driven messaging, questions versus statements, and short versus long formats. Ensure each variation is tested with at least 100 recipients for reliable results.
Adjust message timing based on open and conversion rates. Low open rates could indicate issues with sender reputation or email authentication settings (SPF and DKIM). If churn remains high, experiment with varying delays between messages to find the right balance - avoiding both over-communication and long gaps. Use "Wait Until" conditions to trigger the next step only when specific criteria are met.
Keep an eye on your 7-day activation rate, which measures the percentage of users completing a key milestone within their first week. If this falls below 40%, revisit and refine your initial recovery flow. For example, a cybersecurity company reported a 20% increase in monthly upgrades after unifying its email campaigns using Customer.io.
"Customer.io has been an opportunity for us to go in there, recover more money, make it a profit center, and also reduce the amount of manual labor that we had to do." - Randy Epp, Product Director, AMI
Conclusion
Pairing MagicTag with Customer.io offers a straightforward, no-code way to recover leads by capturing visitor data in real time and triggering immediate follow-ups. Adding MagicTag to your website enables you to collect far more leads than traditional form-based methods, making it easier to reconnect with potential customers.
This integration doesn’t just simplify the process - it delivers actionable results. You can validate your data flow, monitor key performance indicators, and use these insights to fine-tune your strategies. For instance, the "Tracked Name" feature helps you automatically calculate submission and dismissal rates, giving your team the information needed to optimize campaigns effectively.
With this no-code setup, your marketing team can quickly build and refine recovery workflows without relying on developer support. Start with MagicTag’s free plan, which includes up to 1,000 identified users per month, and scale as your results grow. Set up your first automated workflow today and let the data you collect shape a strategy that turns more website visits into meaningful engagement.
FAQs
How does MagicTag collect lead data without requiring form submissions?
MagicTag simplifies data collection on your site by using a lightweight JavaScript tag. Once embedded, it automatically gathers visitor data whenever someone lands on a page or performs a specific action. It pulls browser-stored identifiers like cookies or hashed email tokens and sends this information directly to Customer.io via a webhook. This allows you to add leads to your workspace instantly - no form submissions required - so you can kick off follow-up campaigns the moment a prospect shows interest.
This seamless, form-free data collection works with any app or site compatible with the MagicTag extension. It enables you to transfer data directly into Customer.io’s people database without needing custom code. Plus, you can define custom labels - like Message Content, Sender ID, or Timestamp - to enrich the data. This makes it easy to create detailed audience segments and nurture them in real time using Customer.io’s journey builder.
How can I integrate MagicTag with Customer.io?
To integrate MagicTag with Customer.io, follow these steps:
- Set up a Customer.io workspace: Start by creating a workspace to store and manage your MagicTag data effectively.
- Configure messaging channels: Enable email, SMS, or push notifications to automate follow-ups triggered by MagicTag events.
- Connect MagicTag: Add the MagicTag tracking script or API key to link your form submissions and lead-capture events with Customer.io in real time.
- Sync your leads: Import or sync leads captured by MagicTag, making sure their profiles include the necessary identifiers for proper tracking.
- Map events and create segments: Tie MagicTag actions (like form abandonment) to Customer.io events, and use those to create targeted segments.
- Launch automated campaigns: Design workflows using MagicTag-driven segments to send timely follow-ups and recover abandoned leads.
By following these steps, you can streamline your integration, automate lead recovery, and boost engagement without extra hassle.
How can I make sure my lead recovery workflows follow U.S. data privacy laws?
To comply with U.S. data privacy laws like the CCPA, it's crucial to have a clear data-tracking plan in place before enabling MagicTag forms. Start by documenting what data you plan to collect, why it’s necessary, and how you’ll use it. This ensures you’re only gathering essential information and can manage it responsibly.
When using MagicTag forms with Customer.io, the platform keeps visitors anonymous until you actively link their data. Leverage this feature to obtain explicit consent - for instance, through a checkbox or a privacy notice - before collecting or storing personal details. Ensure that all stored data is secured, access is limited to authorized personnel, and information is only retained for as long as needed.
Additionally, use tagging features to monitor consent, data retention timelines, and opt-out preferences. Regularly review and audit these tags to remain compliant and safeguard your leads’ trust. By focusing on detailed documentation, limiting data collection, and conducting periodic checks, you can meet legal requirements while fostering confidence with your audience.