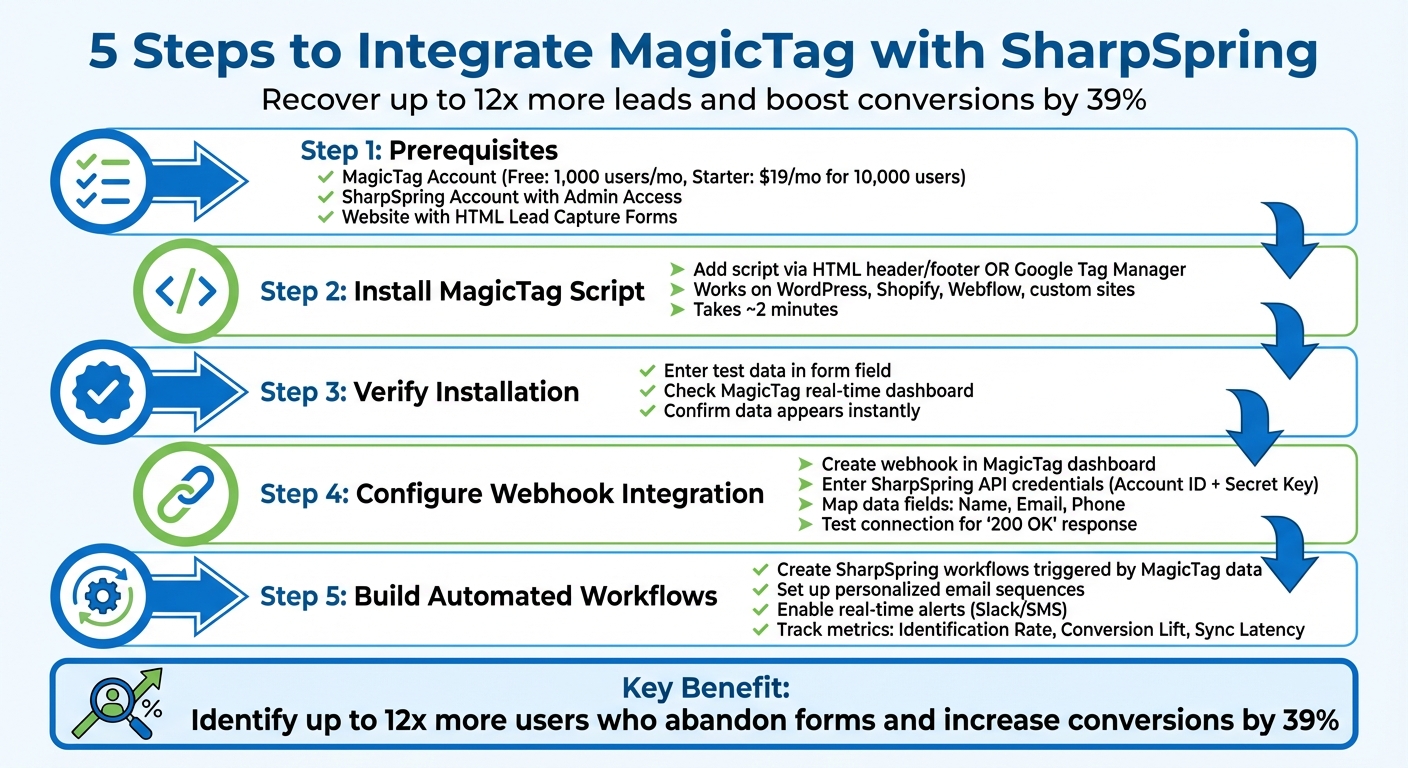
MagicTag helps businesses recover leads by collecting form data even if visitors don’t hit “submit.” Integrated with SharpSpring, it sends this data directly to your CRM, enabling automated follow-ups that can boost conversions by up to 39%. Setup is quick - just add a script to your site via HTML or Google Tag Manager - and it works with platforms like WordPress, Shopify, and Webflow. Plans start at $19/month for advanced features like webhooks and real-time data transfer.
Here’s what you need to get started:
- MagicTag Account: Free plan for up to 1,000 users, or paid plans for higher traffic.
- SharpSpring Account: Admin access required to retrieve API credentials.
- Website Forms: Standard HTML forms with fields like name, email, and phone.
Steps include installing the MagicTag script, verifying its functionality, and setting up webhooks for real-time integration. Once connected, you can create automated workflows in SharpSpring to engage leads instantly. Tracking metrics like identification rate and conversion lift ensures you optimize performance over time.
MagicTag SharpSpring Integration Setup Process
What You Need Before Starting
Getting everything ready beforehand ensures a smooth and efficient lead recovery process when using MagicTag and SharpSpring. Here's what you’ll need to have in place before connecting MagicTag to SharpSpring.
MagicTag Account Requirements
First, make sure you have an active MagicTag account. This is essential for accessing the tracking script and syncing your data. MagicTag offers different plans to suit your needs:
- The Free plan tracks up to 1,000 users per month and includes a basic webhook.
- The Starter plan costs $19/month and supports up to 10,000 users monthly.
- The Business plan is $99/month and accommodates up to 50,000 users.
- The Enterprise plan is $299/month and is designed for businesses with over 50,000 users, offering custom integrations.
Choose the plan that aligns with your website's traffic and lead volume. Once your MagicTag account is ready, the next step is to set up your SharpSpring account.
SharpSpring Account with Admin Access
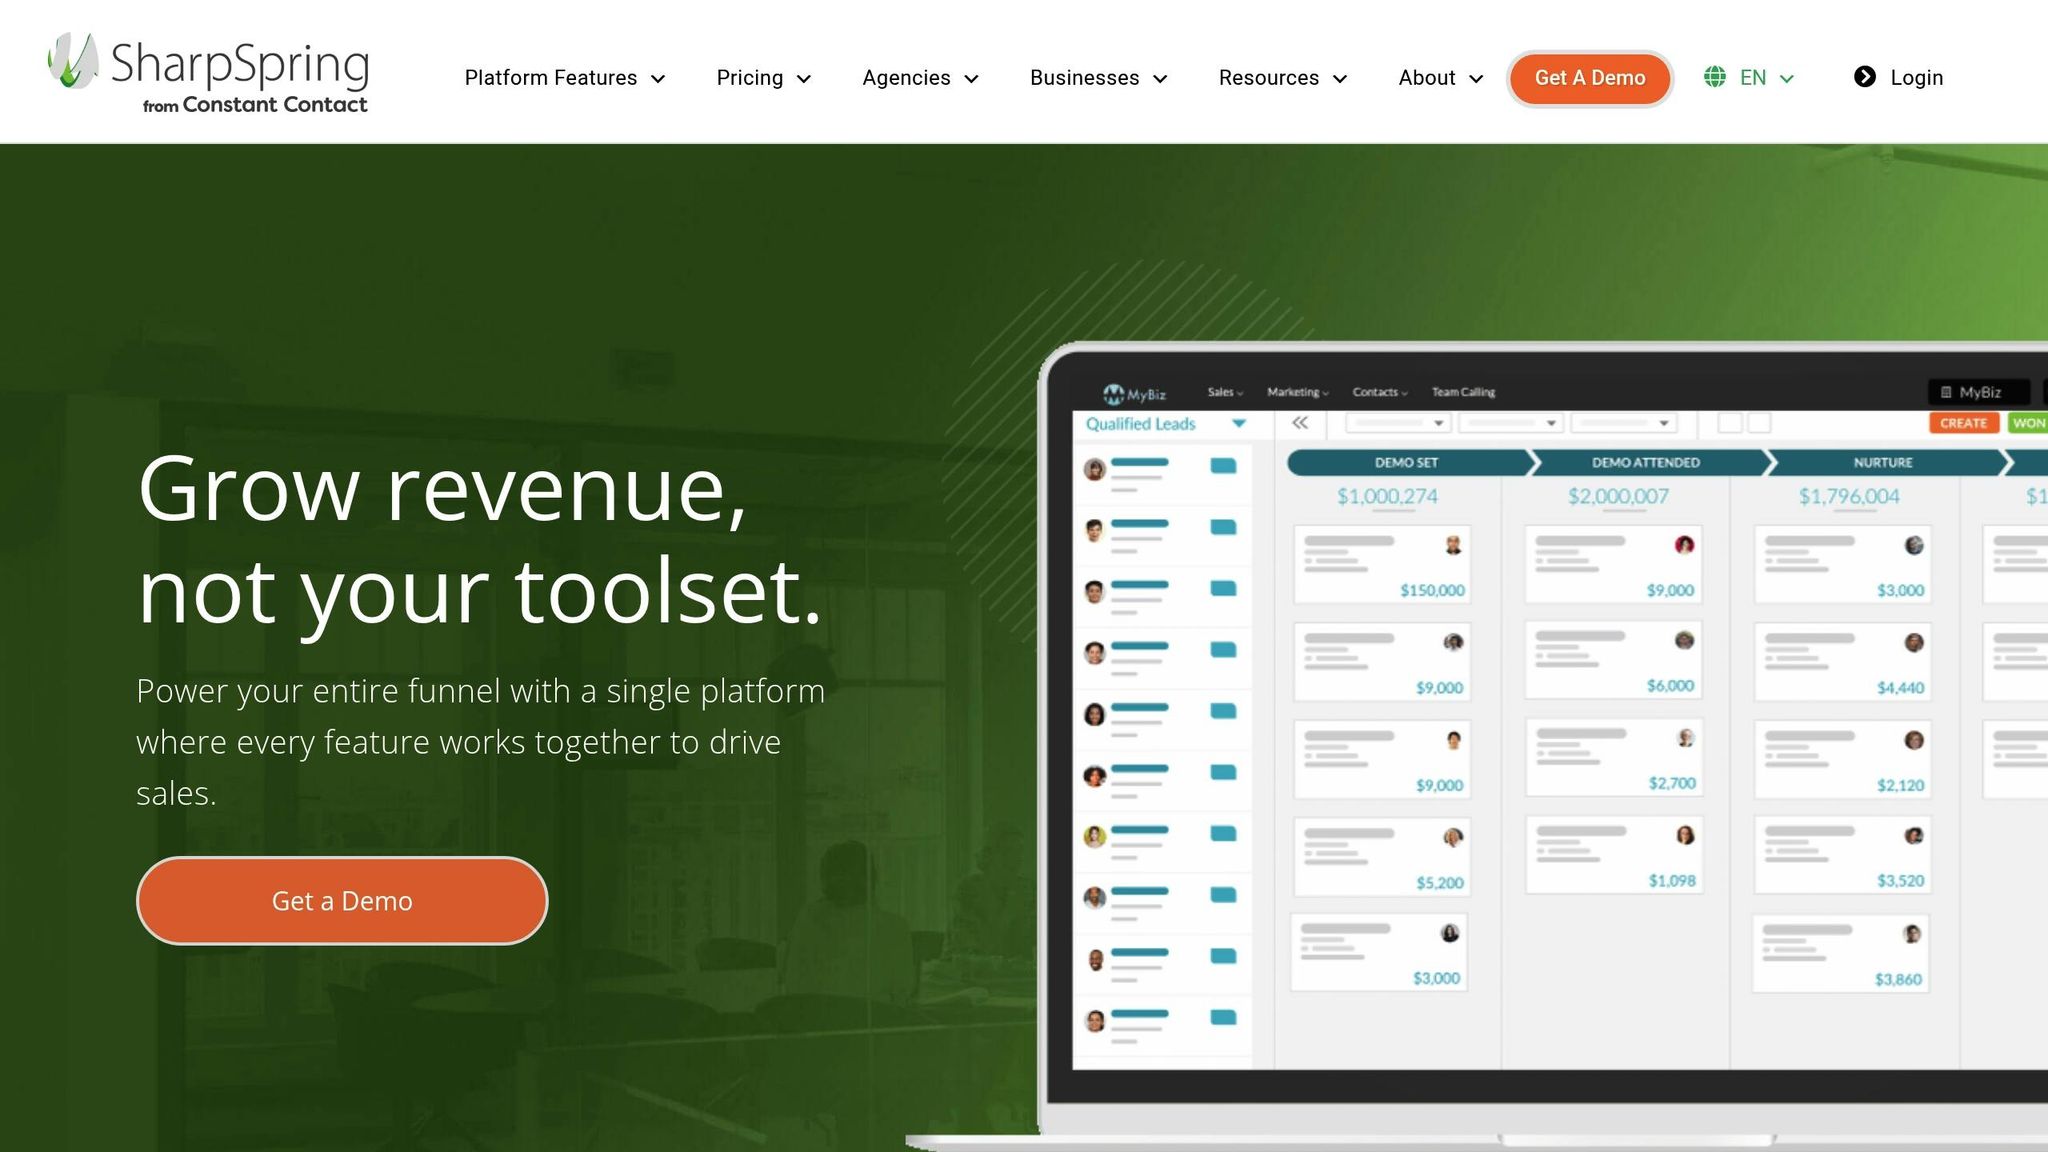
To integrate MagicTag with SharpSpring, you’ll need a SharpSpring account with administrator-level permissions. This is crucial because admin access allows you to enable integrations and configure automated workflows. Without it, you won’t be able to retrieve the API Key and Account ID, which are necessary for the connection.
Log in to your SharpSpring account to confirm you have admin access. If you can’t see the API options, reach out to your account administrator to request the required permissions. Keep in mind that SharpSpring has been rebranded as Lead Gen & CRM by Constant Contact, though the name "SharpSpring" is still used in API code and third-party integrations.
Once your account is set, the final step is to ensure your website is ready for lead capture.
Website with Lead Capture Forms
Your website must have active lead capture forms to make the integration work. These forms should include standard fields like name, email, and phone. MagicTag supports forms on all major platforms, including WordPress, Shopify, Webflow, and even custom-built HTML sites.
For optimal compatibility, your forms should be standard HTML forms (starting with <form> and ending with </form>) and must include an "action" attribute. Double-check your website's forms to ensure they meet these requirements before proceeding.
How to Install the MagicTag Script
Adding the Script to Your Website
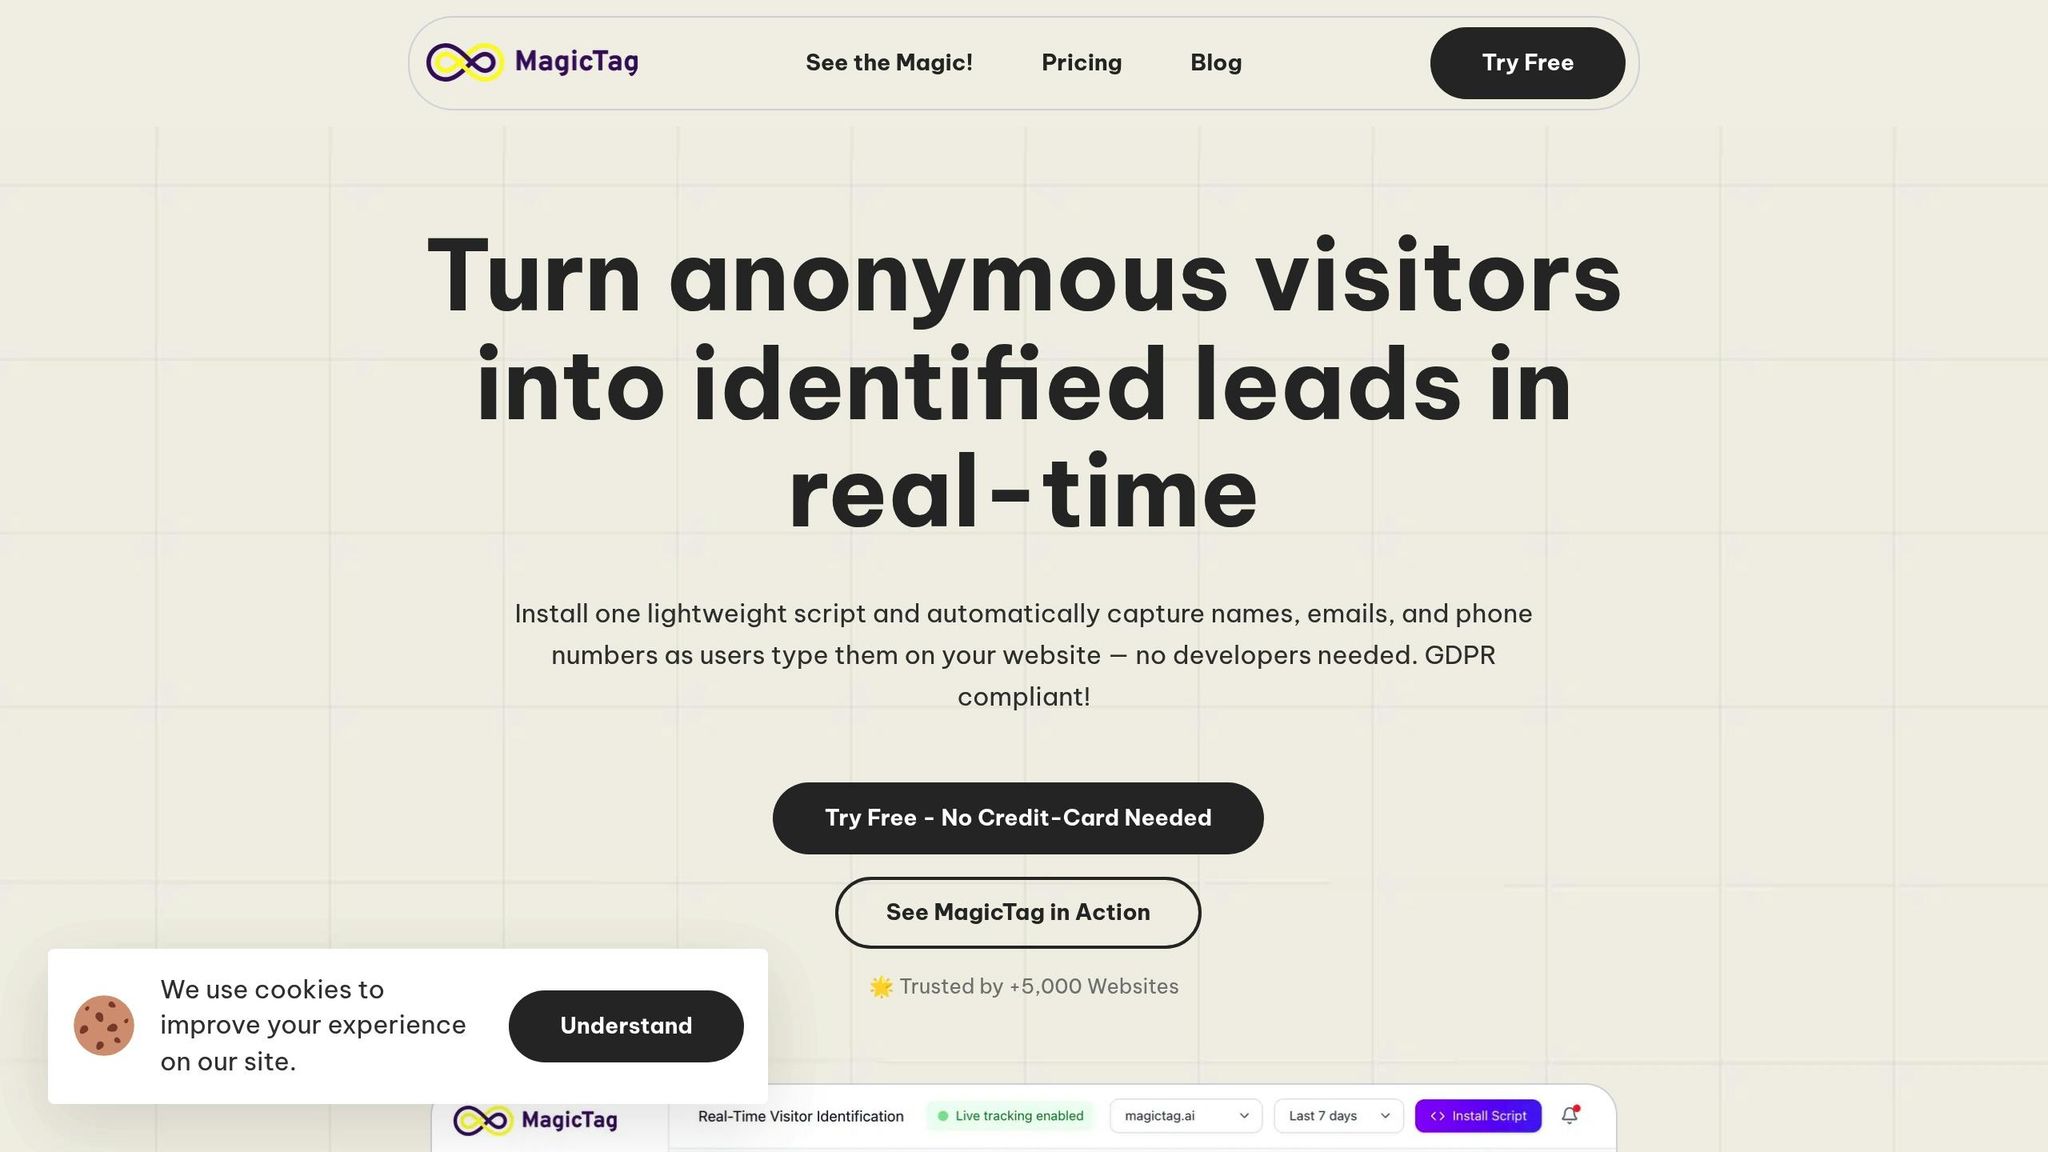
Once your MagicTag account is active, log in to app.magictag.ai to access your tracking script. There, you'll find a handy HTML/JavaScript snippet, ready to copy with just one click. This script allows MagicTag to capture lead data in real time as visitors type into your forms.
For custom HTML websites, simply paste the script into your site's header or footer so it loads on every page. The whole process takes about two minutes.
If you're using platforms like WordPress, Shopify, or Webflow, you can either paste the script into your header or use Google Tag Manager (GTM) for a no-code setup. GTM is particularly helpful if you're not comfortable with coding or prefer avoiding direct edits to your site's code.
The script works seamlessly by using an on-blur capture method. This means it collects data when users click out of form fields, running quietly in the background without impacting your site's performance or user experience.
Once the script is in place, make sure to verify its installation to ensure everything is working smoothly.
Verifying Script Installation
After installing the script, it's crucial to confirm that it's functioning properly before integrating it with SharpSpring. Start by visiting any page on your site that includes a lead capture form. Enter some test information - like a name, email, or phone number - into a form field. Then, click outside the field or press the Tab key to activate the on-blur capture.
Next, log into your MagicTag dashboard and check the real-time view. If the script is installed correctly, your test data will appear instantly. Sarah Thompson, a web developer, shared her experience:
"Watching user data appear in real time is mind-blowing. MagicTag gave us immediate visibility we never had before."
This instant feedback is your confirmation that MagicTag is successfully tracking interactions with your forms - even before users hit the submit button.
If the data doesn't show up, double-check that the script is correctly placed in your site's header or footer and that it's loading on the page you're testing. You can also open your browser's developer tools (press F12) to look for any JavaScript errors that might be interfering with the script.
Once verified, you're ready to confirm the script's functionality and move on to the next steps.
Setting Up Webhook Integration with SharpSpring
Creating a Webhook in MagicTag
To get started, you'll need to configure MagicTag's webhook to send lead data directly to SharpSpring in real time.
First, log into your MagicTag dashboard at app.magictag.ai and head over to the integrations section. Look for the Webhook/API option - this is where you'll set up the connection. Keep in mind that full webhook functionality requires at least the Starter plan ($19/month).
Next, grab your SharpSpring API credentials. In your SharpSpring account, go to User Settings > Settings, and under the API Settings section, you'll find your Account ID and Secret Key. Copy these credentials - they’ll be essential for the integration.
Scott Silver from SharpSpring highlights the platform's adaptability:
"SharpSpring provides open access to our API, along with all the instructions required to create the perfect integration for your needs."
Now, input the destination URL where MagicTag will send the lead data. This URL is usually provided by SharpSpring or an integration service like LeadsBridge or Zapier. The webhook will send a POST request containing lead details - like name, email, and phone number - each time a visitor interacts with your forms. With this setup in place, you’re ready to move on to connecting the webhook to SharpSpring.
Connecting Webhook to SharpSpring
After setting up the webhook in MagicTag, the next step is linking it to SharpSpring. If you're using a direct integration, paste your SharpSpring Account ID and Secret Key into the corresponding fields in MagicTag's webhook configuration.
For those using a third-party tool like LeadsBridge, enable "Listening Mode" on the bridge. This ensures the system identifies all incoming data fields from MagicTag. To test this, fill out a form field and click elsewhere to trigger the on-blur capture. Within moments, the bridge should detect the incoming fields - such as email, first name, last name, and phone.
Once the test data is visible, map these fields to their appropriate counterparts in SharpSpring. Pay close attention to any fields marked with an asterisk (*), as these are mandatory for successful data transfer.
Finally, click the "Test Connection" button to confirm the data flows correctly between MagicTag and SharpSpring. If everything is set up properly, your test lead will appear in your SharpSpring dashboard almost immediately. This ensures real-time synchronization, allowing you to start engaging with leads as soon as they interact with your forms.
Mapping Data Fields Between MagicTag and SharpSpring
Identifying Key Data Fields
MagicTag captures essential information - Name, Email, and Phone Number - as soon as users interact with your forms, even before they hit submit.
"MagicTag captures name, email, and phone as soon as a user starts typing - even without form submissions." - MagicTag.ai
To get started, review your website's lead capture forms. MagicTag integrates effortlessly with any standard HTML form field where users intentionally provide information. This capability allows you to identify up to 12x more users before they complete the form. Beyond the basics, you can also map custom fields like Company Name, Job Title, or Product Interests if your forms collect that data. Importantly, MagicTag complies with GDPR and LGPD regulations by only tracking fields where users actively input their details.
Once you've pinpointed the data points you want to track, the next step is configuring their mapping in SharpSpring.
Configuring Field Mapping in SharpSpring
After identifying the fields to map, access the integration interface. On this screen, you'll find SharpSpring CRM fields listed on the left and MagicTag data labels on the right. Match fields like MagicTag's First Name to SharpSpring's First Name, Email to Email Address, and Mobile Phone to Phone Number. Be sure to map fields marked with an asterisk (*), as they are required.
Check for any unmapped fields to ensure you're capturing additional data, such as secondary phone numbers or custom tags. If necessary, format data - for example, standardizing phone number formats or adjusting text casing - before transferring it. Once everything is mapped, click "Test Connection" to confirm that test leads are appearing correctly in SharpSpring.
sbb-itb-77d5bc3
Creating Lead Recovery Automations in SharpSpring
Building Automated Workflows
With MagicTag’s real-time data transfer, you can set up instant follow-ups that engage leads at just the right moment. SharpSpring’s visual workflow builder makes this process seamless, allowing you to create automations that activate as soon as MagicTag captures lead data. For instance, when someone begins filling out a form - even if they don’t hit “submit” - MagicTag sends the captured details straight to SharpSpring via webhook, enabling immediate action.
To get started, create a workflow in SharpSpring’s automation engine and set it to trigger when MagicTag data is received. From there, you can configure actions like sending personalized emails using dynamic variables (e.g., the lead’s first and last name), sending SMS notifications through integrations like Twilio, or even alerting your sales team via Slack.
SharpSpring’s rules engine takes it further, using behavioral data to craft interactions tailored to each lead’s preferences. For instance, if MagicTag captures data from a visitor who left a pricing page form incomplete, your workflow could send a well-timed email highlighting pricing options. On the other hand, if a visitor browsed a product demo page, you might follow up with demo-related content. These personalized touches can significantly boost engagement.
"SharpSpring has become a force multiplier – it helps us engage leads in manner we were previously unable." - Terry Coleman, Advice Local
Once your workflows are in place, you can shift your focus to nurturing these leads effectively.
Improving Lead Nurturing Campaigns
After automating your workflows, you can take engagement to the next level with targeted lead nurturing campaigns. SharpSpring’s automation tools allow you to tailor nurturing sequences to match each lead’s intent .
For a multi-channel recovery strategy, combine automated email workflows with retargeting ads. For example, if a lead abandons a form, SharpSpring can trigger an email sequence while simultaneously launching retargeting ads that appear on other websites. Use lead scoring to identify high-priority prospects - those who revisit your site or explore multiple pages - and ensure they receive timely follow-ups.
SharpSpring’s centralized CRM provides a full view of each lead’s journey, helping you track the effectiveness of your recovery campaigns. By connecting marketing spend to sales outcomes, you’ll see exactly which automations are driving revenue.
"We're able to track the entire life of a lead to show ROI on our campaigns. SharpSpring produces quick wins and real revenue." - Omar Barraza, PlanStartGrow
Testing and Improving the Integration
Testing Data Flow Between MagicTag and SharpSpring
Once your integration is live, it’s time to ensure everything is functioning as expected. Start by testing the data flow from MagicTag to SharpSpring. Open an incognito browser window and enter test data into a lead field. After entering the information, click outside the field to trigger the on-blur capture. Then, check the MagicTag real-time dashboard to confirm if the data appears.
Next, confirm that the webhook delivery is working properly. Head over to your MagicTag integration settings and look for a "200 OK" response status - this indicates the data has been successfully sent to SharpSpring. To complete the check, visit SharpSpring's Contact Manager and search for the test email to confirm the lead was either created or updated with the correct fields. To ensure automation triggers are firing as they should, set up a simple test workflow in SharpSpring. For example, create a workflow that sends an internal notification when MagicTag data is received. If data isn’t appearing as expected, double-check your integration settings and review error logs for troubleshooting.
Once you’ve confirmed the data flow, shift your focus to evaluating lead recovery performance.
Tracking Lead Recovery Metrics
After verifying the integration, it’s important to measure how well it’s recovering leads. Start by monitoring the number of identified users in MagicTag's dashboard. These are visitors who entered data but didn’t submit forms. MagicTag has the potential to identify up to 12x more users compared to traditional form submissions.
In SharpSpring, keep an eye on key metrics like Opportunities Amount (the total value of open opportunities), Opportunities Won (closed deals and revenue), and Opportunities Working Amount (active sales opportunities). SharpSpring’s scorecards or weekly digests can help you track these metrics consistently.
| Metric to Track | Description | Goal |
|---|---|---|
| Identification Rate | Ratio of visitors to identified leads | Aim for up to 12x improvement |
| Conversion Lift | Increase in leads turning into customers | Target around a 39% increase |
| Sync Latency | Time for data to move from MagicTag to SharpSpring | Should be near "real-time" |
For campaign-specific insights, look at metrics such as "Opportunities Open by Campaign" and "Opportunities Closed Amount by Campaign" to identify which workflows are generating the most revenue. Also, don’t ignore Opportunities Lost Amount, which reveals potential revenue from unsuccessful recovery attempts and highlights areas where your automation could improve.
Regularly analyzing these metrics will help you fine-tune your integration for better results.
Making Adjustments Based on Performance Data
If your lead recovery performance isn’t meeting expectations, start by verifying that MagicTag is capturing critical fields like name, email, and phone numbers as users switch focus. To improve engagement, consider using dynamic variables such as First Name and Last Name in SharpSpring workflows to make your recovery messages feel more personal. You can also set up real-time alerts via Slack or SMS (using tools like Twilio) to enable your sales team to act quickly on recovered leads.
For businesses handling high volumes of leads, leverage advanced filtering and segmentation tools available in MagicTag’s Business plan ($99/month). These features allow you to prioritize high-value visitors. If standard webhooks don’t meet your needs, explore SharpSpring’s open API for a more tailored integration.
"While custom integrations may cost a little more up front, they generally offer more flexibility than a SaaS solution such as Zapier." - Scott Silver, SharpSpring
MagicTag Pricing Plans for SharpSpring Integration
Choosing the Right MagicTag Plan
Once your integration is running smoothly, the next step is selecting a MagicTag plan that aligns with your lead volume and return on investment (ROI) goals.
MagicTag offers four pricing tiers designed for businesses of various sizes. To see detailed pricing and user limits, refer to the "What You Need Before Starting" section. When deciding on a plan, evaluate your monthly website traffic and lead recovery objectives.
The Free plan is ideal for small businesses experimenting with lead recovery strategies. It includes a real-time dashboard, basic webhooks, and email support to help capture abandoned leads.
For growing businesses, the Starter plan provides full API access, CRM integrations, and priority support. Stepping up to the Business plan unlocks advanced filtering and segmentation tools, which are essential for identifying high-value visitors when dealing with larger pipelines. If your business handles over 50,000 users monthly, the Enterprise plan offers dedicated infrastructure, custom integrations, and premium support with SLA guarantees.
Small businesses often focus on personalized messaging to grow their customer base, while larger organizations rely on advanced filtering to manage higher lead volumes. If your company closes hundreds of deals daily, custom integrations may be a more cost-effective solution compared to standard webhook setups.
Once you've chosen a plan, it's important to assess how the leads you recover will impact your bottom line.
Calculating ROI for Small Businesses
To calculate ROI, divide your monthly MagicTag subscription cost by the number of recovered leads to find your cost per lead (CPL). Then, compare this CPL to other lead generation methods to gauge its efficiency. Additionally, track the total value of deals in your sales pipeline that originate from MagicTag-recovered leads to better understand your returns.
For example, ROI Amplified, a digital marketing agency based in Tampa, Florida, used this approach by integrating visitor tracking with SharpSpring. They identified 70% of visiting companies before they even submitted a form, gaining full access to historical visitor behavior data. This allowed them to pivot their content strategy from technical tutorials to executive-level material, significantly boosting lead quality and sales performance.
"Leadfeeder shows me everything they've done before they submit the form, which is invaluable. We're identifying at least 60 to 70 percent of the companies that are on our site that way." - Zach Bowlby, CEO of ROI Amplified
It’s worth noting that 72% of shoppers engage only with personalized content. The data captured through MagicTag enables this level of personalization within SharpSpring workflows. Starting with the Free plan can help you establish baseline metrics, and as your lead recovery efforts grow, you can upgrade to paid tiers to scale your results effectively.
Conclusion and Key Takeaways
Main Benefits of the Integration
Integrating MagicTag with SharpSpring transforms how you capture and recover leads. It can identify up to 12x more users compared to traditional form submissions, gathering crucial visitor details - like name, email, and phone number - even when forms are abandoned mid-process.
By syncing data with your CRM in real time, you enable instant, personalized follow-ups through SharpSpring’s automated workflows. This integration has been shown to increase conversion rates by as much as 39%.
"MagicTag has become one of our highest-ROI tools. We now convert visitors who would've vanished forever." - Chris Caveiras, Founder
MagicTag also ensures compliance with GDPR and LGPD by only tracking data that users willingly input. Plus, the free plan allows you to test the system with up to 1,000 identified users before scaling up as your lead volume grows.
With these features, you're well-equipped to enhance your lead management process. Follow the steps below to get started.
Next Steps for Implementation
To make the most of this integration, follow these steps for a smooth setup:
- Install the MagicTag script: Use Google Tag Manager for quick and easy deployment.
- Configure your webhook: In the MagicTag dashboard, set up the webhook to send captured data directly to SharpSpring. Map critical fields like first name, last name, email, and phone number to ensure seamless data transfer into your CRM.
- Build automated workflows: Use SharpSpring to re-engage visitors who abandoned forms.
- Optimize your forms: Monitor your dashboard to identify forms with high abandonment rates and make necessary improvements.
- Track your ROI: Regularly compare recovered leads to overall conversion performance to measure the impact of the integration.
FAQs
How does MagicTag capture form data even if users don’t submit the form?
MagicTag works by using a small, efficient JavaScript snippet to monitor and log data entered into form fields as users type. It collects key details like names, email addresses, and phone numbers in real-time, ensuring this information is securely transmitted to your CRM - even if the visitor decides not to hit the Submit button.
This functionality allows businesses to retrieve potential leads that might have slipped through the cracks, simplifying the lead capture process and boosting chances for conversions.
How can I integrate MagicTag with SharpSpring to improve lead recovery?
Integrating MagicTag with SharpSpring is straightforward and ensures you can capture and recover leads without hassle. Here’s how to get started:
- Install the MagicTag script: Add the MagicTag JavaScript to your website. Using a tool like Google Tag Manager makes this process easier and lets you capture visitor data in real time.
- Set up Zapier in SharpSpring: Connect your SharpSpring account to Zapier. This connection enables MagicTag to sync the captured data directly with SharpSpring.
- Create a Zap: In Zapier, set up a connection between MagicTag’s lead capture trigger and SharpSpring’s contact management system. Make sure to map key fields - like name, email, and phone number - correctly to ensure the data flows smoothly.
- Test and activate: Run a quick test to verify everything works as expected. Once confirmed, activate the Zap to start automating your lead recovery process.
With this setup, MagicTag seamlessly delivers real-time visitor data into SharpSpring’s CRM, helping you manage leads more effectively.
How do I ensure MagicTag complies with GDPR requirements?
To maintain GDPR compliance while using MagicTag, it's essential to prioritize user privacy and clear communication. MagicTag is built with privacy-by-design principles, meaning it only collects the data you configure and processes it securely in SOC 2 Type II-certified environments. Here are some steps to help you stay on the right track:
- Obtain explicit consent: Use banners or checkboxes to get clear permission from users before collecting any personal details, like names or email addresses.
- Minimize data collection: Only gather the information you truly need for lead recovery, ensuring you stick to GDPR's data minimization principles.
- Be transparent: Provide a clear privacy notice outlining how data will be used and stored, along with an easy way for users to opt out.
- Set data retention limits: Configure policies to automatically delete partially captured data after a set period, supporting GDPR's right-to-be-forgotten requirement.
- Document your processes: Sign MagicTag’s data-processing agreement and maintain logs to demonstrate accountability.
By using MagicTag’s built-in privacy tools and following these best practices, you can recover leads effectively while respecting GDPR requirements.