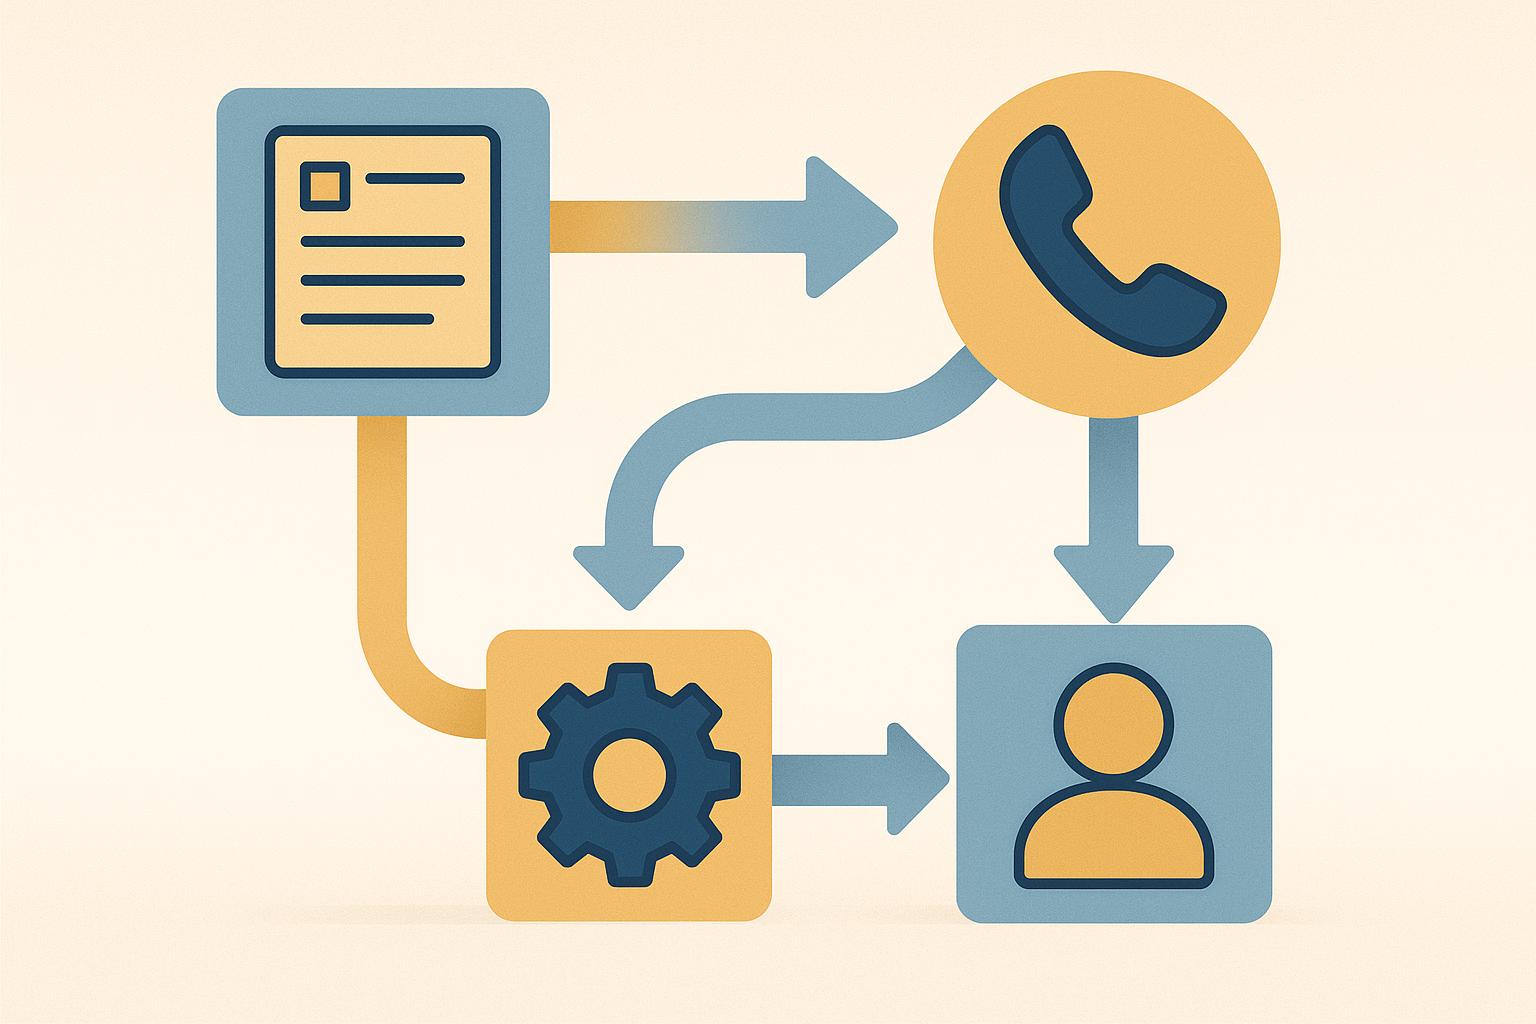
MagicTag helps businesses recover lost leads by capturing user data like names and emails in real-time, even if visitors abandon forms. When integrated with Mailchimp, this data powers automated email campaigns to re-engage potential customers. This pairing is ideal for small to medium-sized businesses looking to reduce manual follow-ups and improve lead recovery without technical expertise. Key benefits include:
- Real-time data sync between MagicTag and Mailchimp via webhooks.
- Automated email flows for tasks like abandoned cart reminders and welcome emails.
- Easy setup with no coding required, supporting platforms like WordPress, Shopify, and Wix.
Key Stats:
- Abandoned cart emails see a 45% open rate and 21% click-through rate.
- Automated email flows generate 9x more revenue than bulk emails.
- MagicTag’s free plan supports up to 1,000 users/month, and Mailchimp’s free tier allows up to 250 contacts.
To get started, install MagicTag on your website, connect it to Mailchimp, and set up data mapping for personalized campaigns. This integration saves time, improves efficiency, and boosts conversions with minimal effort.
Mailchimp Automation Tutorial for Beginners | Create Email Automations (Customer Journey)

Setting Up MagicTag with Mailchimp

MagicTag Mailchimp Integration Setup Guide: 3-Step Process
Connecting MagicTag to Mailchimp is straightforward and doesn’t require any coding skills or help from a developer. The two platforms communicate using webhooks, which allow data to sync in real time. This makes the process smooth and efficient.
What You Need Before Starting
Before diving in, make sure you have these essentials ready:
- An active MagicTag account: Even the free plan supports up to 1,000 users per month.
- A Mailchimp account: Ensure you have at least one audience set up.
- A website with lead capture forms: These forms will allow you to track visitor activity.
Additionally, you’ll want to configure your merge fields in Mailchimp ahead of time. These fields - like "First Name", "Email Address", or "Phone Number" - store the data MagicTag captures. Mailchimp gives you the flexibility to create tag names up to 100 characters long. Setting these up in advance ensures a seamless mapping process for incoming leads. Once this is done, integrate MagicTag with your website to start collecting data.
Installing MagicTag on Your Website
To get started, log into your MagicTag dashboard and locate your unique tracking script. Copy this script and paste it into your website’s header section, just before the closing </head> tag. If you’re using platforms like WordPress, Shopify, or Wix, they offer a custom code section where you can easily insert the script.
Once installed, MagicTag begins capturing data as visitors type into your forms - even if they don’t hit the submit button. The script is lightweight, so it won’t slow down your site. To confirm everything is working, check your MagicTag dashboard for real-time activity shortly after installation.
Connecting MagicTag to Mailchimp Using Webhooks
The final step is setting up the connection between MagicTag and Mailchimp to recover leads in real time. Here’s how:
- Go to the integrations or webhook section in your MagicTag dashboard.
- Create a webhook and enter Mailchimp’s API endpoint as the callback URL. Mailchimp provides a unique URL for adding subscribers to your audience.
- Define the events that will trigger data transfer, such as "new lead captured" or "form field completed."
Make sure to use HTTPS for your webhook URL to keep the data encrypted during transit. After saving your settings, submit a test form on your website. You should see the captured data appear in your Mailchimp audience within seconds.
If something doesn’t work, double-check that the merge field names in Mailchimp match the data labels in MagicTag. Webhooks are widely used for integrations - 60% of API connections rely on them, highlighting their reliability and importance in syncing systems.
Configuring Data Mapping and Automation
After activating your webhook, the next step is to align the data captured by MagicTag with Mailchimp's system. This ensures that the information flows seamlessly into your campaigns, connecting data capture with actionable automation.
Matching Data to Mailchimp Merge Tags
Mailchimp organizes contact information using merge tags - unique text identifiers enclosed in asterisks and pipes. Common examples include |FNAME| for first name, |LNAME| for last name, |EMAIL| for email address, and |PHONE| for phone number. To ensure smooth personalization, map each field from MagicTag directly to the corresponding Mailchimp merge tag.
Here’s an example of how to map these fields:
| MagicTag Label (Example) | Mailchimp Audience Field | Mailchimp Merge Tag |
|---|---|---|
| Customer First Name | First Name | * |
| Customer Last Name | Last Name | * |
| Lead Email | Email Address | * |
| Contact Phone | Phone Number | * |
| Business Name | Company | * |
To maintain professionalism, set default values in Mailchimp for missing data (e.g., use "Friend" as a fallback for first names). You can preview your mapping in Mailchimp's Preview Mode by enabling the "live merge tag info" toggle, which lets you see how the data will appear in your emails before sending.
Remember, merge tags are style-sensitive. Avoid adding bold or italic formatting within the tag characters (|...|), as this can disrupt their functionality.
Once your data mapping is set, you’re ready to create targeted automated campaigns.
Building Automated Campaigns for Lead Recovery
With accurate data mapping in place, you can automate lead recovery effortlessly using Mailchimp. One effective strategy is setting up abandoned cart recovery campaigns. Did you know that cart abandonment rates hover around 69.82%? Well-crafted email sequences can achieve open rates of up to 21.29% - far exceeding standard averages.
To create a three-stage abandoned cart sequence in Mailchimp, start by building a Customer Journey in your dashboard. Use triggers like "Added Tag" to activate the workflow when MagicTag sends new lead data through the webhook. Then design three emails with specific timing:
- Email 1 (within a few hours): A friendly nudge, asking, "Did you forget something?" Include a direct link back to the cart for convenience.
- Email 2 (after 24 hours): Offer an incentive, such as free shipping or a time-sensitive discount, to encourage the lead to complete their purchase.
- Email 3 (after 72 hours): Create urgency with scarcity - mention limited availability or provide direct support options like live chat or a phone number.
To make your campaigns even more effective, use Conditional Splits to tailor messages based on customer data. For instance, leads with high-value carts could receive personalized follow-ups, while those with lower-value carts might get a standard discount offer. Keep in mind that Mailchimp’s Standard plan supports up to 3 triggers and 200 steps per automation flow.
More than 60% of marketers use CRM or marketing systems to manage their audience data. The secret to success? Craft emails that feel personal and conversational, guiding your contacts toward action without coming across as overly salesy.
sbb-itb-77d5bc3
Testing and Monitoring the Integration
Once your automation is live, it's essential to confirm that data is moving correctly between MagicTag and Mailchimp and that your campaigns are performing as expected. Testing isn’t a one-time task - it’s an ongoing process to catch issues early and fine-tune for better results.
Checking Data Flow Between MagicTag and Mailchimp
Start by ensuring that leads captured through MagicTag are appearing in your Mailchimp audience. Go to Audience > All Contacts in your Mailchimp dashboard and look for newly added contacts. Each contact should include the tags and merge tag data you set up earlier. If new entries aren’t showing up, double-check that your webhook is active and that MagicTag is correctly capturing data from your site.
For a deeper audit, navigate to Audience > Tags in Mailchimp. You can filter segments or export CSV files to track and review new leads. Tags are automatically sorted, with the most recent ones at the top, making it easier to locate new entries. Click View next to a tag to confirm proper segmentation. If you need to cross-check, export your contacts as a CSV file and compare it with your MagicTag dashboard to ensure no leads are being missed. Regularly review individual contacts to confirm that custom labels and merge tags are correctly applied - this step is especially important if your emails rely on conditional splits or personalized content.
Once you’ve verified the data flow, your focus should shift to evaluating how well your campaigns are performing.
Tracking Performance Metrics
After confirming that data is flowing smoothly, it’s time to analyze your campaign results. One of the key metrics to monitor is click-through rate (CTR), with average rates hovering around 2.62%. A good CTR generally falls between 1% and 5%.
Open rates can give you a sense of initial engagement, though it’s worth noting that Apple’s Mail Privacy Protection (MPP) may artificially inflate these numbers. On average, open rates across industries are about 35.63%, with government-related emails at the higher end (40.55%) and vitamin supplements at the lower end (27.34%). Conversion rates are another critical metric to track. For e-commerce recovery campaigns, keep an eye on total revenue and average order value generated by your automation to measure its financial impact.
Before wrapping up, use Mailchimp’s Link Checker and enable tracking in the Email Builder settings. Head to the Marketing Dashboard to access the "Monitor Performance" and "Conversions" sections, where you can view real-time data from your integration. If you notice high bounce rates or unsubscribe rates - the average unsubscription rate is 0.22% - this could signal issues like poor data quality or overly frequent emails. To optimize your campaigns, test one variable at a time, such as subject lines for better open rates or CTA button designs for improved click rates.
Conclusion
Integrating MagicTag with Mailchimp changes the game for lead recovery and conversion rates. MagicTag lets you capture user data in real-time - even when visitors abandon forms - giving you a second chance to connect with prospects who might have slipped away. Once this data is synced with Mailchimp, you can activate automated abandoned cart sequences that boast impressive results, like 45% open rates and 21% click-through rates. This means turning hesitant browsers into paying customers with minimal effort.
Beyond just simplifying lead capture, this integration drives real performance improvements. By cutting out time-consuming manual data entry, teams save an average of 7 hours per week. Plus, personalized recommendations powered by this data can increase conversion rates by 150% and click-through rates by 300%. Considering Mailchimp users typically see an ROI of up to 25x, the financial benefits of automating these processes are hard to ignore.
This partnership helps you move from reactive to proactive marketing by re-engaging visitors with timely, behavior-driven messages. Your segmentation becomes more precise, your campaigns more effective, and your team gains valuable time to focus on strategy rather than administrative tasks.
Next Steps with MagicTag and Mailchimp
To maximize the benefits of this integration, set up a three-part abandoned cart sequence: start with a reminder email, follow up with a value-add or discount offer, and close with a final nudge. Pair this with a welcome series for new leads captured via MagicTag to build trust right from the start. Use behavioral data to segment your audience by their product interests, and experiment with different subject lines and calls-to-action to see what resonates most. The best part? MagicTag’s free plan supports up to 1,000 identified users per month, and Mailchimp’s free tier allows up to 250 contacts - making it easy to test this integration without any upfront costs. You can scale up as you start seeing results.
FAQs
How does MagicTag collect user data instantly without requiring form submissions?
MagicTag leverages cutting-edge real-time tracking to gather user data without relying on traditional form submissions. Once integrated with your website, it automatically identifies and collects essential user details as visitors interact with your content, creating a seamless and automated experience.
This method allows you to capture leads effortlessly while keeping the process smooth and user-friendly. It simplifies engagement with potential customers and helps improve conversion rates with minimal effort.
How can integrating MagicTag with Mailchimp benefit small businesses?
Integrating MagicTag with Mailchimp makes it easier for small businesses to manage their leads. With this setup, leads captured through MagicTag forms are automatically transferred to a business's Mailchimp database. This means no more manual data entry, fewer errors, and more time to focus on connecting with leads rather than dealing with technical processes.
Once the leads are synced, businesses can take advantage of powerful tools like tagging, audience segmentation, and automated email workflows. For example, you can send welcome emails or create nurture campaigns right away. Using the data collected through MagicTag, Mailchimp enables businesses to craft personalized and targeted email campaigns that drive better engagement and increase conversions.
In short, this integration simplifies lead management and email marketing, helping small businesses save time, work more efficiently, and grow their revenue with ease.
How do I make sure my MagicTag data matches Mailchimp merge tags correctly?
To make sure your MagicTag data works smoothly with Mailchimp merge tags, start by setting up matching audience fields in Mailchimp for every data point you gather through MagicTag. Each field in Mailchimp generates a specific merge tag (like *|FNAME|* for a first name), which you can use in emails or automations. When configuring your MagicTag form, ensure that each input label or hidden field name corresponds directly to the right Mailchimp audience field for accurate data mapping.
For more advanced tweaks, you can modify Mailchimp’s form HTML. This allows you to add hidden fields or adjust IDs so they align perfectly with MagicTag’s data inputs. After setting everything up, test the integration by submitting sample data through your MagicTag form. Then, check Mailchimp to confirm the values are correctly mapped to their respective merge tags. By aligning field names, making any necessary customizations, and thoroughly testing, you’ll ensure a seamless data connection between MagicTag and Mailchimp.